How to customize the WooCommerce thank you page
Today we’ll look into different the methods to customize the WooCommerce thank you page and the ways this page can be used for improving your customer experience. The thank you page can be customized in many different ways, in this article we’ll show you the following methods:
- Using plugins to customize the thank you page
- Creating custom code to redirect the thank you page to a different page
- Using custom code to modify the thank you page options (e.g. title)
- Overriding the thank you page template
Surely, we want our customers to have the best shopping experience possible. But quite often we don’t devote enough resources to what happens after the order is placed. After all, our post-sales relationship starts at the WooCommerce thank you page.
Thus, the order received page can be used as a starting point for this new customer relationship. There we can provide guidance and tools to keep our customers happy and engaged.

Reasons to customize the WooCommerce “thank you” page
The default WooCommerce “thank you” page is what users see after the order has been placed. Depending on the payment method at this point there is no further user interaction. Thus, this is a good time to let the customer know what comes next.
In addition to simple transactional messages, it is an opportunity to connect with your clients. For example, beyond the order details, you could show your support channels or common questions about that product, offer coupons for future orders etc
Since by the time a customers has landed on this page, your online store already contains all the user and order details under the WooCommerce order object. Therefore, it’s possible to create a user if this is a guest checkout, to customize messages depending on the order contents, price, or location or add a custom user field, depending on the user profile detected for that order.
Lets see some of the different ways to implement this custom WooCommerce thank you page.
As usually with WordPress, there are two main ways of adding additional functionality to your website, one is to use plugin and the other one is to build your own custom functionality by writing some code. We are going to look in both methods. First lets see how to customize the WooCommerce thank you page with the help of some plugins.
Customizing WooCommerce “thank you” page using free and paid plugins
NextMove Lite
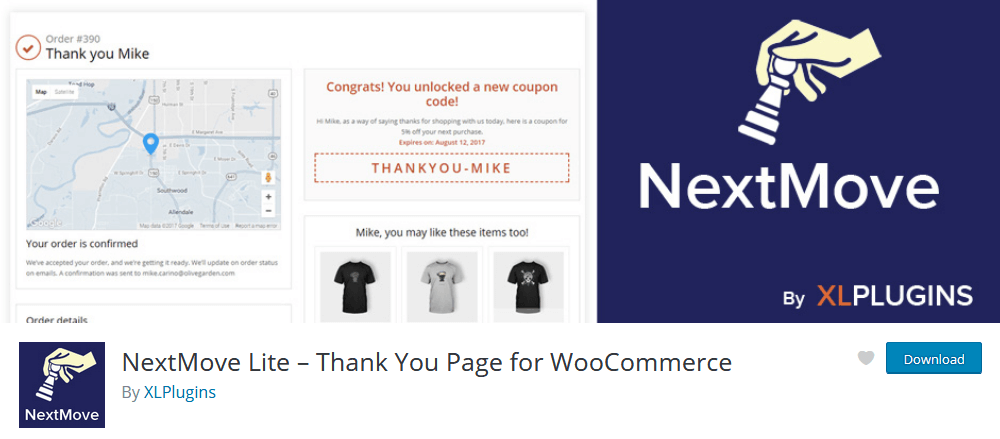
The NextMove Lite allows you to build custom WooCommerce thank you pages. With it, you can add a completely custom thank you page, with your own elements, videos, images or HTML code. In addition, it’s possible to add dynamic coupons or use your preferred page builder to create your pages.
YITH Custom Thank You Page for WooCommerce
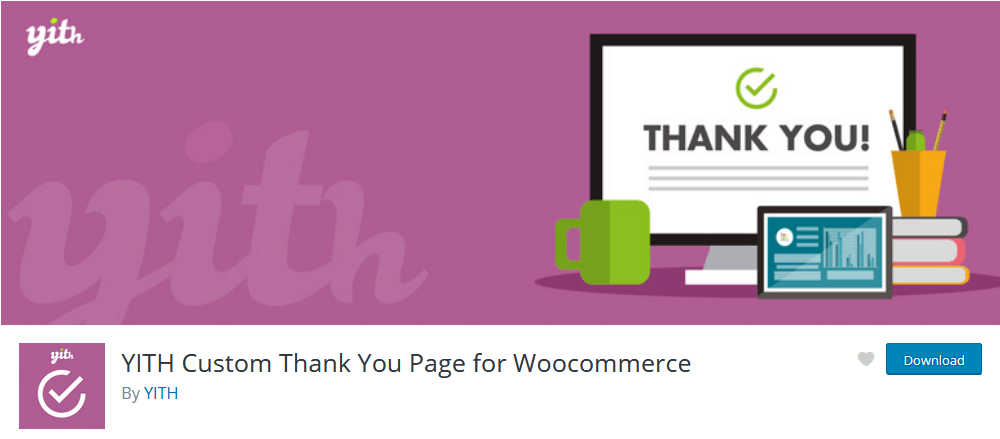
The YITH’s Custom Thank You Page for WooCommerce allows you to set custom WordPress pages as your order’s received page. In addition, you can add Custom CSS to your page and add basic WooCommerce order details template.
Furthermore, YITH has premium features to bring even more customization to your thank you pages. With it, it’s possible to add custom pages for different products and categories. There are other interesting elements, such as upsells, PDF generation and social box for your thank you pages.
Custom “thank you” page with template redirects
When it comes to the option of creating your own custom WooCommerce thank you page, there are many coding options as well. Each has its use case, depending on your desired results.
The easiest customization option is similar to what our above mentioned plugins do. You can redirect from the default WooCommerce thank you page URL to a different custom made page URL. This page is usually one that you can freely edit, with static or dynamic content. For this we are going to use hooks. The hooks can be applied very easily to your theme/child theme functions.php or to your custom plugin. You can do it with this snippet:
//Wp hook for templates for each page
add_action( 'template_redirect', 'ui_redirect_wc' );

function ui_redirect_wc(){
  //check if the current page is the order received and if we have an order key
  if( isset( $_GET['key'] ) && is_wc_endpoint_url( 'order-received' ) ) {
    wp_redirect( 'redirection url goes here' );
    exit;
  }
}
For this example, we use the template_redirect hook. It is run by WordPress when it decides which page to load for your current URL. Then we check if the URL is our thank you page, and if it’s a valid order. If it is, we redirect to our custom thank you page.
Changing the “thank you” page based on order details
In case you want to change the page based on order details, we need to access the WooCommerce order object. The main issue here is to avoid exposing order data to users who shouldn’t see it. For this reason, we can’t just trust the order ID, we need to use the WooCommerce order key.
Surely, it’s possible to add further security measures, such as to require user login. But the key is secure enough, as it acts as a password. Here is how to redirect to a custom thank you page depending on the products bought:
//again, we need the template redirect hook
add_action( 'template_redirect', 'ui_redirect_by_product_id' );

function ui_redirect_by_product_id(){
  //if the current page is the order received and if there's an order key
  if( isset( $_GET['key'] ) && is_wc_endpoint_url( 'order-received' ) ) {
    $order_id = wc_get_order_id_by_order_key( $_GET['key'] );

    if ( ! empty( $order_id ) ) {
      $order = wc_get_order( $order_id );

      foreach( $order->get_items() as $item ) {
        //check if one of the product's ID match your desired ID
        if( $item['product_id'] == 1 ) {
          wp_redirect( 'redirection url goes here' );
          exit;
        }
      }
    }
  }
}
This could be used to virtually any of your order items such as:
- Order price
- Products Quantity
- Shipping method
- Payment method
- Shipping address (country, city, state, zip code…)
- User email
Changing the content of the WooCommerce “thank you” page
There are simpler ways to customize your current thank you page as well. For instance, if you just want to change some of its content you can use the WooCommerce filters for that. You can change elements, such as the page’s title and text using some custom code:
//the WP filter for "the_title" function, which loads the page title
add_filter( 'the_title', 'ui_custom_order_received_title', 10, 2 );

function ui_custom_order_received_title( $title, $id ) {
  //check if the order received page function exists (WC activated)
  //then check if it is the current page
  if ( function_exists( 'is_order_received_page' ) && is_order_received_page() ) {
    $title = "Welcome aboard! Thanks for your order!";
  }
  return $title;
}
As usual, this allows for custom titles depending on the shopping carts’ content. For instance, users who bought a soccer-related product could be greeted with a nice message related to their sport.
Customizing the “thank you” page template
Lastly, there’s the template replacement option. If you open your WooCommerce plugin folder, you will find the templates directory there under: templates/checkout/thankyou.php. Of course you should not change the content of these files directly inside the WooCommerce plugin folder. All you need to do is to copy the files in your current theme WooCommerce folder and apply all the changes in there. In this way your changes will be safe from being replaced the next time you update the WooCommerce plugin. You can add a totally custom template file in your theme and this file will be loaded as your thank you page. For this, you just need to add it in your theme’s woocommerce/checkout/thankyou.php. We use the wp-plugins/woocommerce/templates/checkout/thankyou.php file as a reference since this is the original thank you page template.
This method allows for a whole custom design. Furthermore, it can be used in combination with other methods mentioned here, for custom designs depending on the order contents.
Conclusion
Today we looked into different methods to customize your WooCommerce thank you page. These methods turn your simple order received page into a marketing tool. It can be used for custom coupons, closer user interaction or even communication.
By the end of the day, you should be able to apply a custom thank you page that suits your needs. We hope you enjoyed, and see you again next time!