How to import WooCommerce customers from a CSV file
In this tutorial, we will show you how to import WooCommerce customers from a CSV file. We’ll look into the tools and processes of importing your WooCommerce customers directly into the WordPress database. With our process, the customers will be created as WordPress users with some custom fields like name, address, and company.
One of the most dreadful tasks in web development is migration. Although sometimes we need to change servers or platforms, a lot of data can be lost in the process. That’s why using standardized export files can save you a lot of trouble. Export files are ways to transfer data between completely different systems. They translate your data into a standardized “language”. This is so that different systems will be able to make sense of it. Even when moving from similar systems, it’s also helpful to use them to make sure no data is lost.
Our goal in this tutorial is to explore plugins that you can use to help you import WooCommerce customer data from CSV files. Our main topics are:
- Installing WP Ultimate CSV Importer
- Planning your Export
- Running your Import
- Linking past orders to the users
So, let’s get started!

Installing WP Ultimate CSV Importer
As previously with our import WordPress users from a CSV file guide, this time again we are going to use the WP Ultimate CSV Importer plugin to do our imports. This plugin allows you to import not only users but many custom post types and custom fields like orders, posts, products, or anything else you’ve got.
To install the plugin, just go to Plugins > Add New and search for “WP Ultimate CSV Importer”. Once installed, we just need to activate it and we’re good to go.

Planning your Export
Before starting the upload and import we need to make sure you have all the essential information that we need. The process of exporting the user data can vary depending on your current platform. We already have an article about how to export your WooCommerce customers with their address with Users Insights, however, we’ll also provide some general instructions on how to setup your CSV file in case you prefer using a different tool.
For WooCommerce we’re focusing on fields such as an address, company, and name. Make sure you have these in the same format that WooCommerce does. For example, in your address, the City has its own field, and your data export should be that way as well.
Don’t be afraid to use pen and paper for this process. You need to analyze how your current database stores your user data, so you can correspond them to the new way of storing data. If you get this correspondence right, your import process will work smoothly.
These are the fields we have in our WooCommerce export:
- Address ( billing_address_1 , billing_address_2 , shipping_address_1 , shipping_address_2 )
- Company ( billing_company , shipping_company )
- City ( billing_city , shipping_city )
- State ( billing_state , shipping_state )
- Country ( billing_country , shipping_country )
- Postcode ( billing_postcode , shipping_postcode )
- Phone ( billing_phone , shipping_phone )
But in case you don’t have any of these just leave them blank. Also, if you don’t have them for a user in specific you can leave them blank as well. WooCommerce will require them to fill that in the next time they place an order.
Running your Import
Once you have all your data ready in a nice CSV file we’ll run the import plugin. Now make sure you have a safe backup of your entire database (in case anything goes wrong).
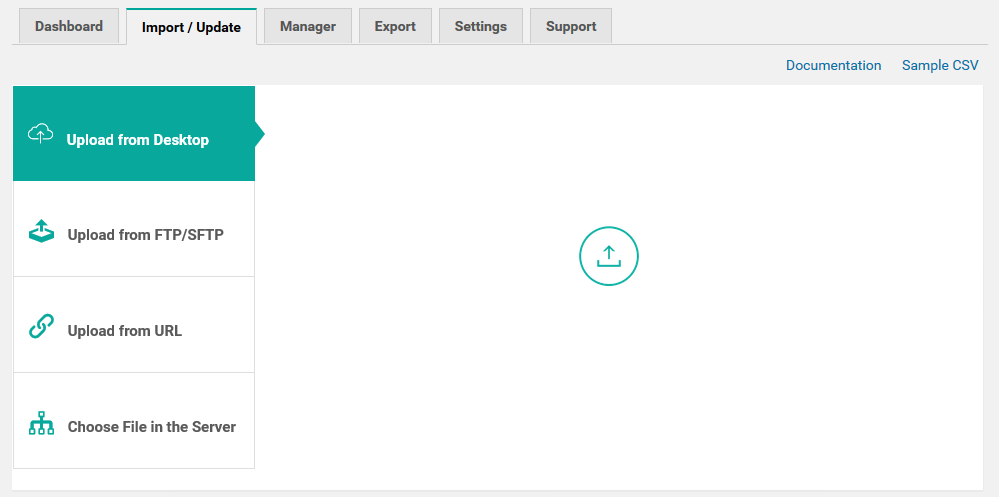
Go to your WordPress Dashboard > Ultimate CSV Importer Free > Import / Update. Since the free version only allows uploads from your desktop select your file from there.
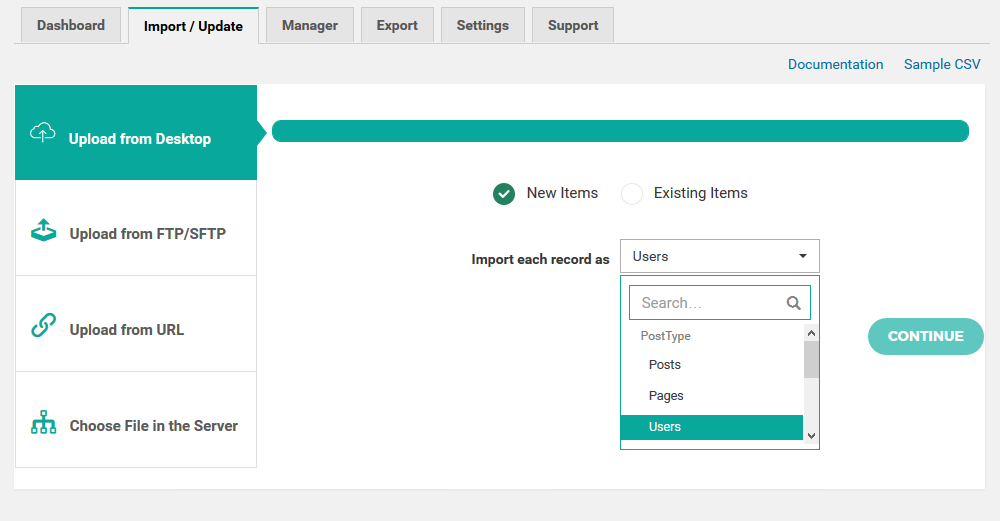
The next step is selecting the Import type to be as users:
We are now going to select the fields and assign them to the corresponding custom field names. Once again, since we are going to import the WooCommerce settings, make sure to assign the correct fields to the correct keys. In this way, your WooCommerce customer data (such as an address, company, and name) are going to be saved correctly.
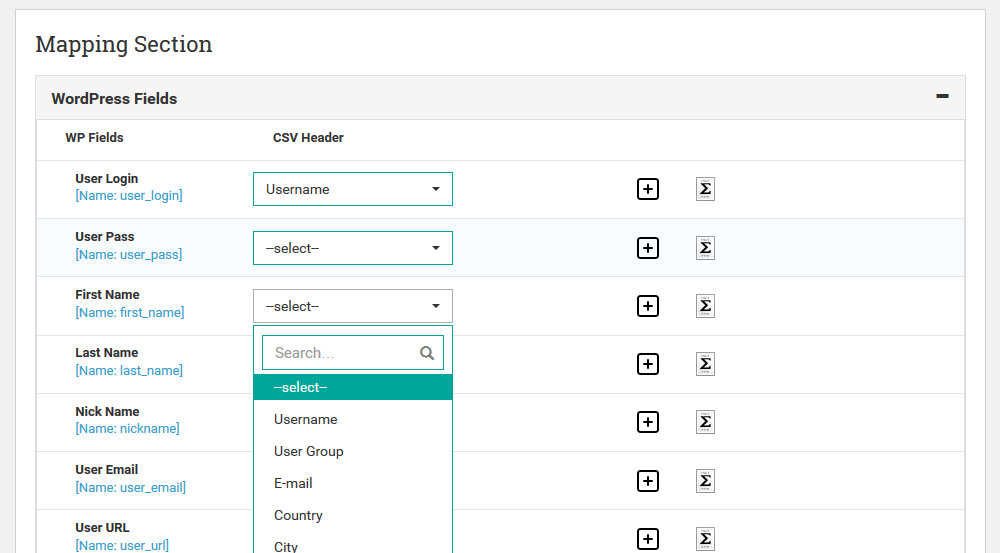
Also, it’s worth noticing that the first part of the import is going to show your default user fields (created by WordPress), and you can see your custom fields below.
Here is the default fields mapping:
And this is how the custom fields mapping is going to look like:
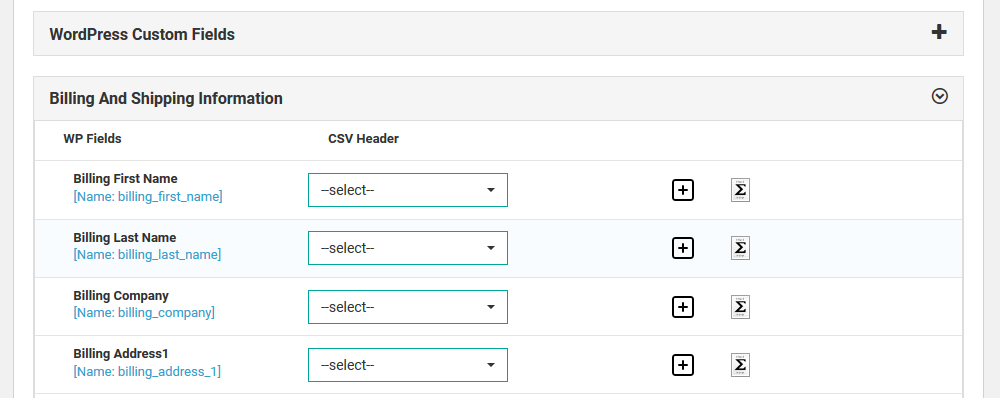
You may notice that some custom fields are already recognized. That happens when the plugin detects custom fields that already exist or field groups that are active (if you already have WooCommerce, for example).
Linking past orders to the users
Since our focus is dealing with orders you can repeat the same process with your orders. Although the process is very similar, you need to make sure you have all the custom fields required for the Orders Custom Post Type.
If you want to allow your users to see past orders and manage them, you need to link these product orders with your users. For this process to work, your orders need to have the same email as your registered user. In case your users have multiple email addresses you’ll need to make sure the correct email is referenced.
To do that you need to import your product orders, then add this snippet in a child theme or plugin before running the user import.
function link_orders( $user_id ) {
    wc_update_new_customer_past_orders( $user_id );
}
add_action( 'user register', 'link_orders' );
Once you save this, this code will link any past orders to the newly created customers. In this way, all customers created in your import method will have past orders linked to them.
Checking your imported customer data
After this entire process, it is always worth double checking our import data. This can be done using the Users Insights plugin, as we can check our custom fields and orders integrity. Here are some ideas of searches you can run to check for possible errors.
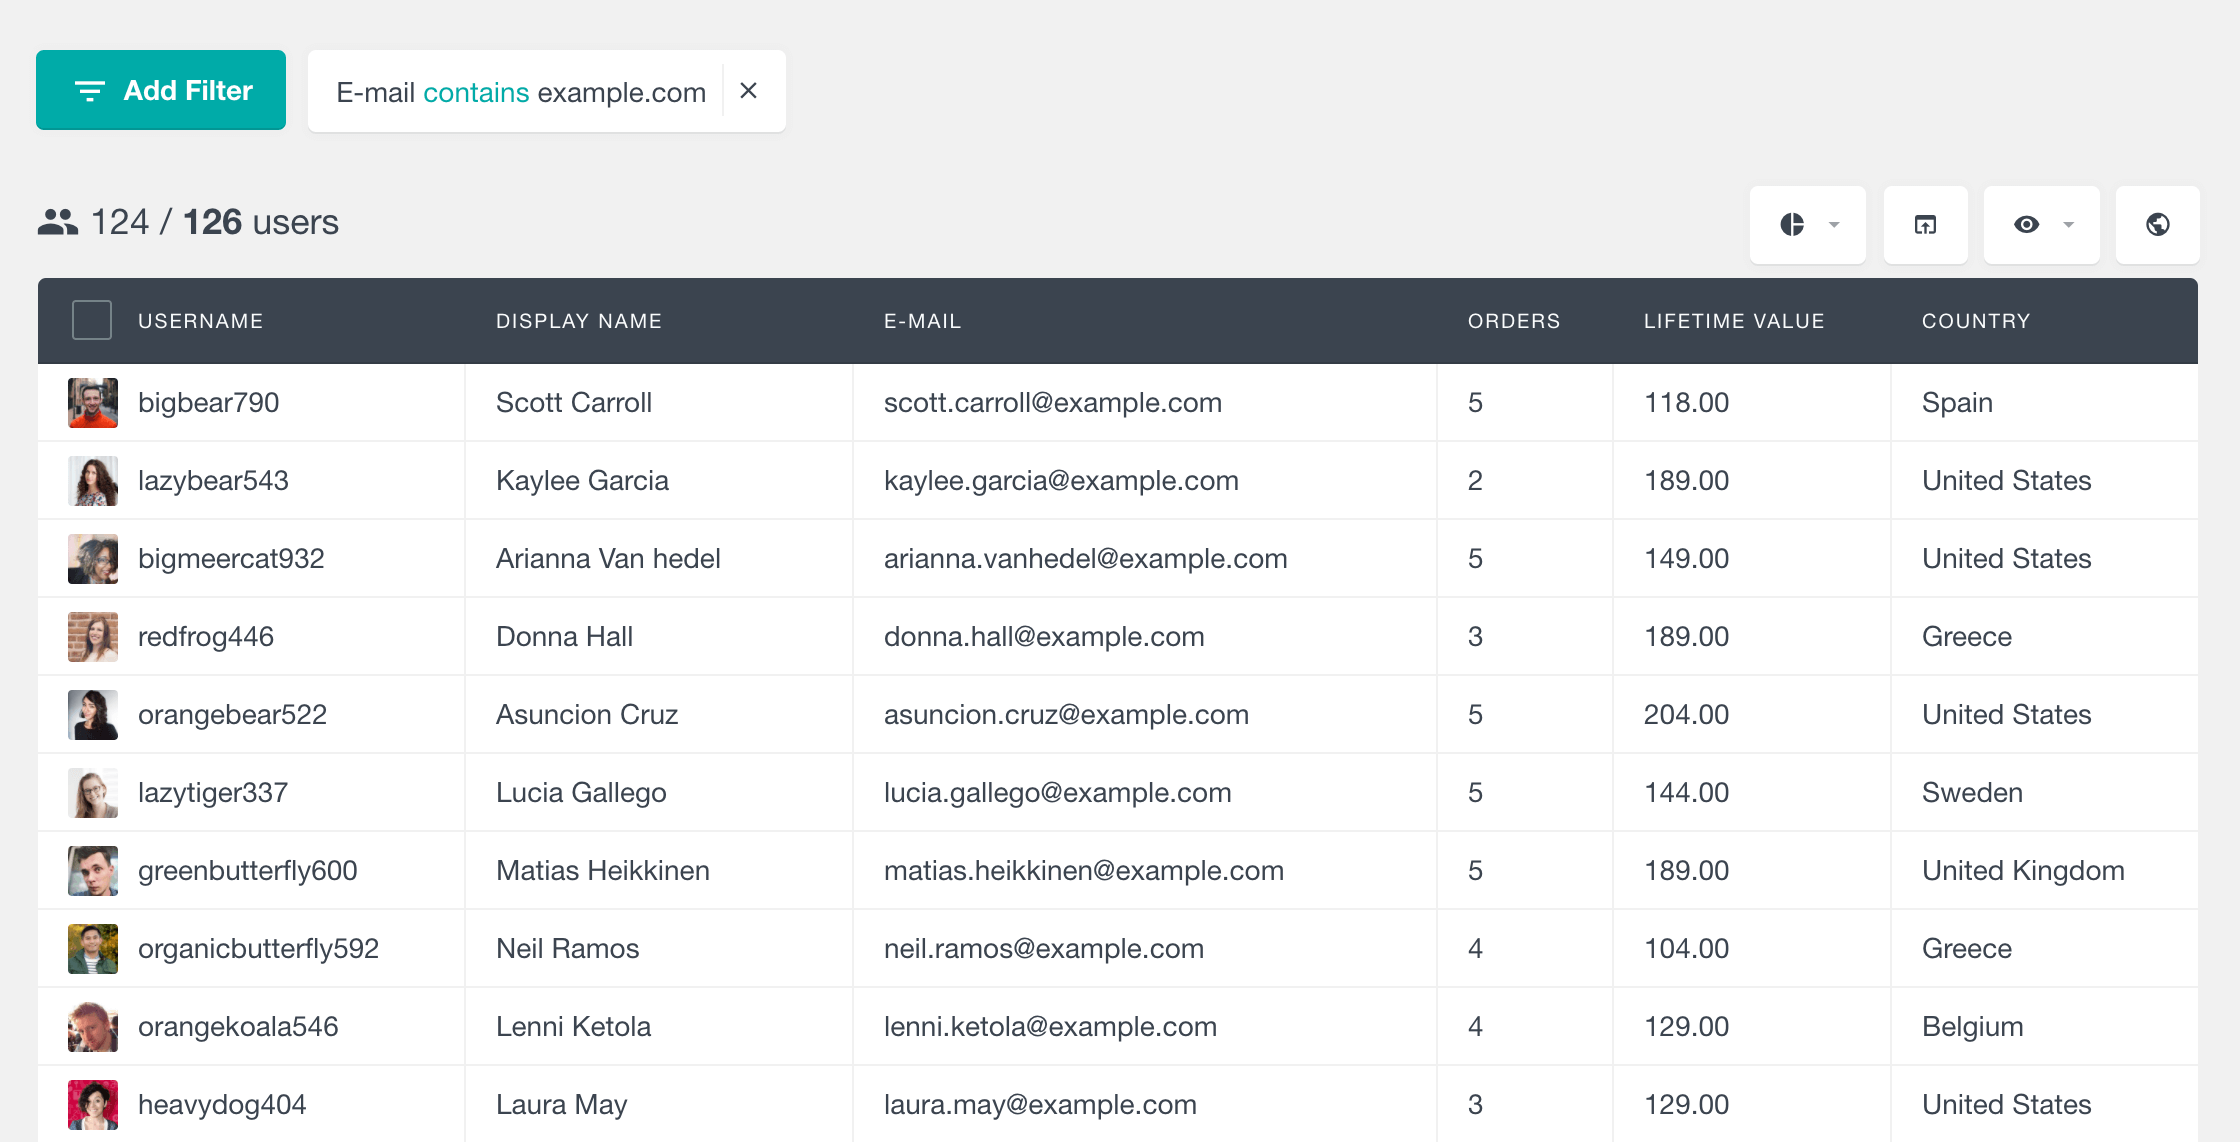
You can use the username or email field to search for specific users. For instance, if you know that you have important customers with an email from a certain domain you can check that. It’s possible to check specific usernames or emails as well if you want.
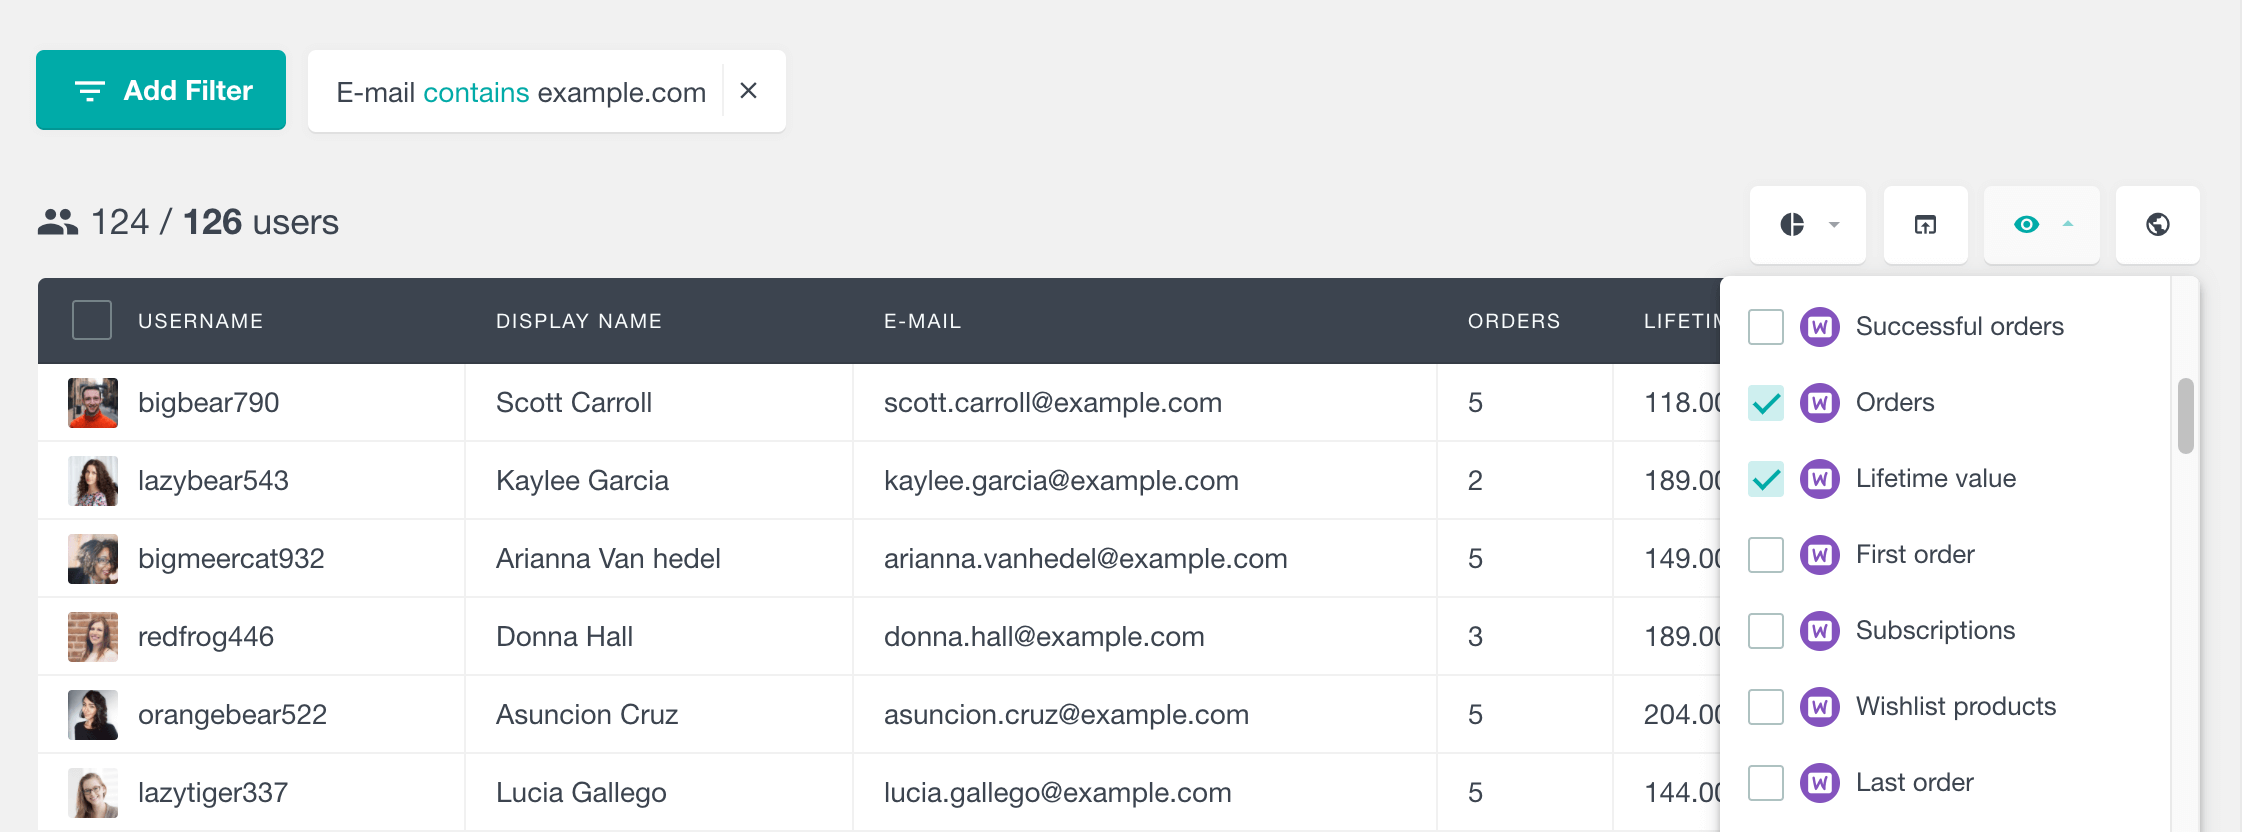
Then you might want to check the custom fields integrity, such as location, for the WooCommerce customers you imported. The visual check is a quick way to see obvious issues. You can make your WooCommerce location fields visible by clicking the eye icon.
Additionally, you can filter customer list based on these fields. You just need to check for WooCommerce users with empty locations to find any possible issues. This is done with the “is not set” condition.
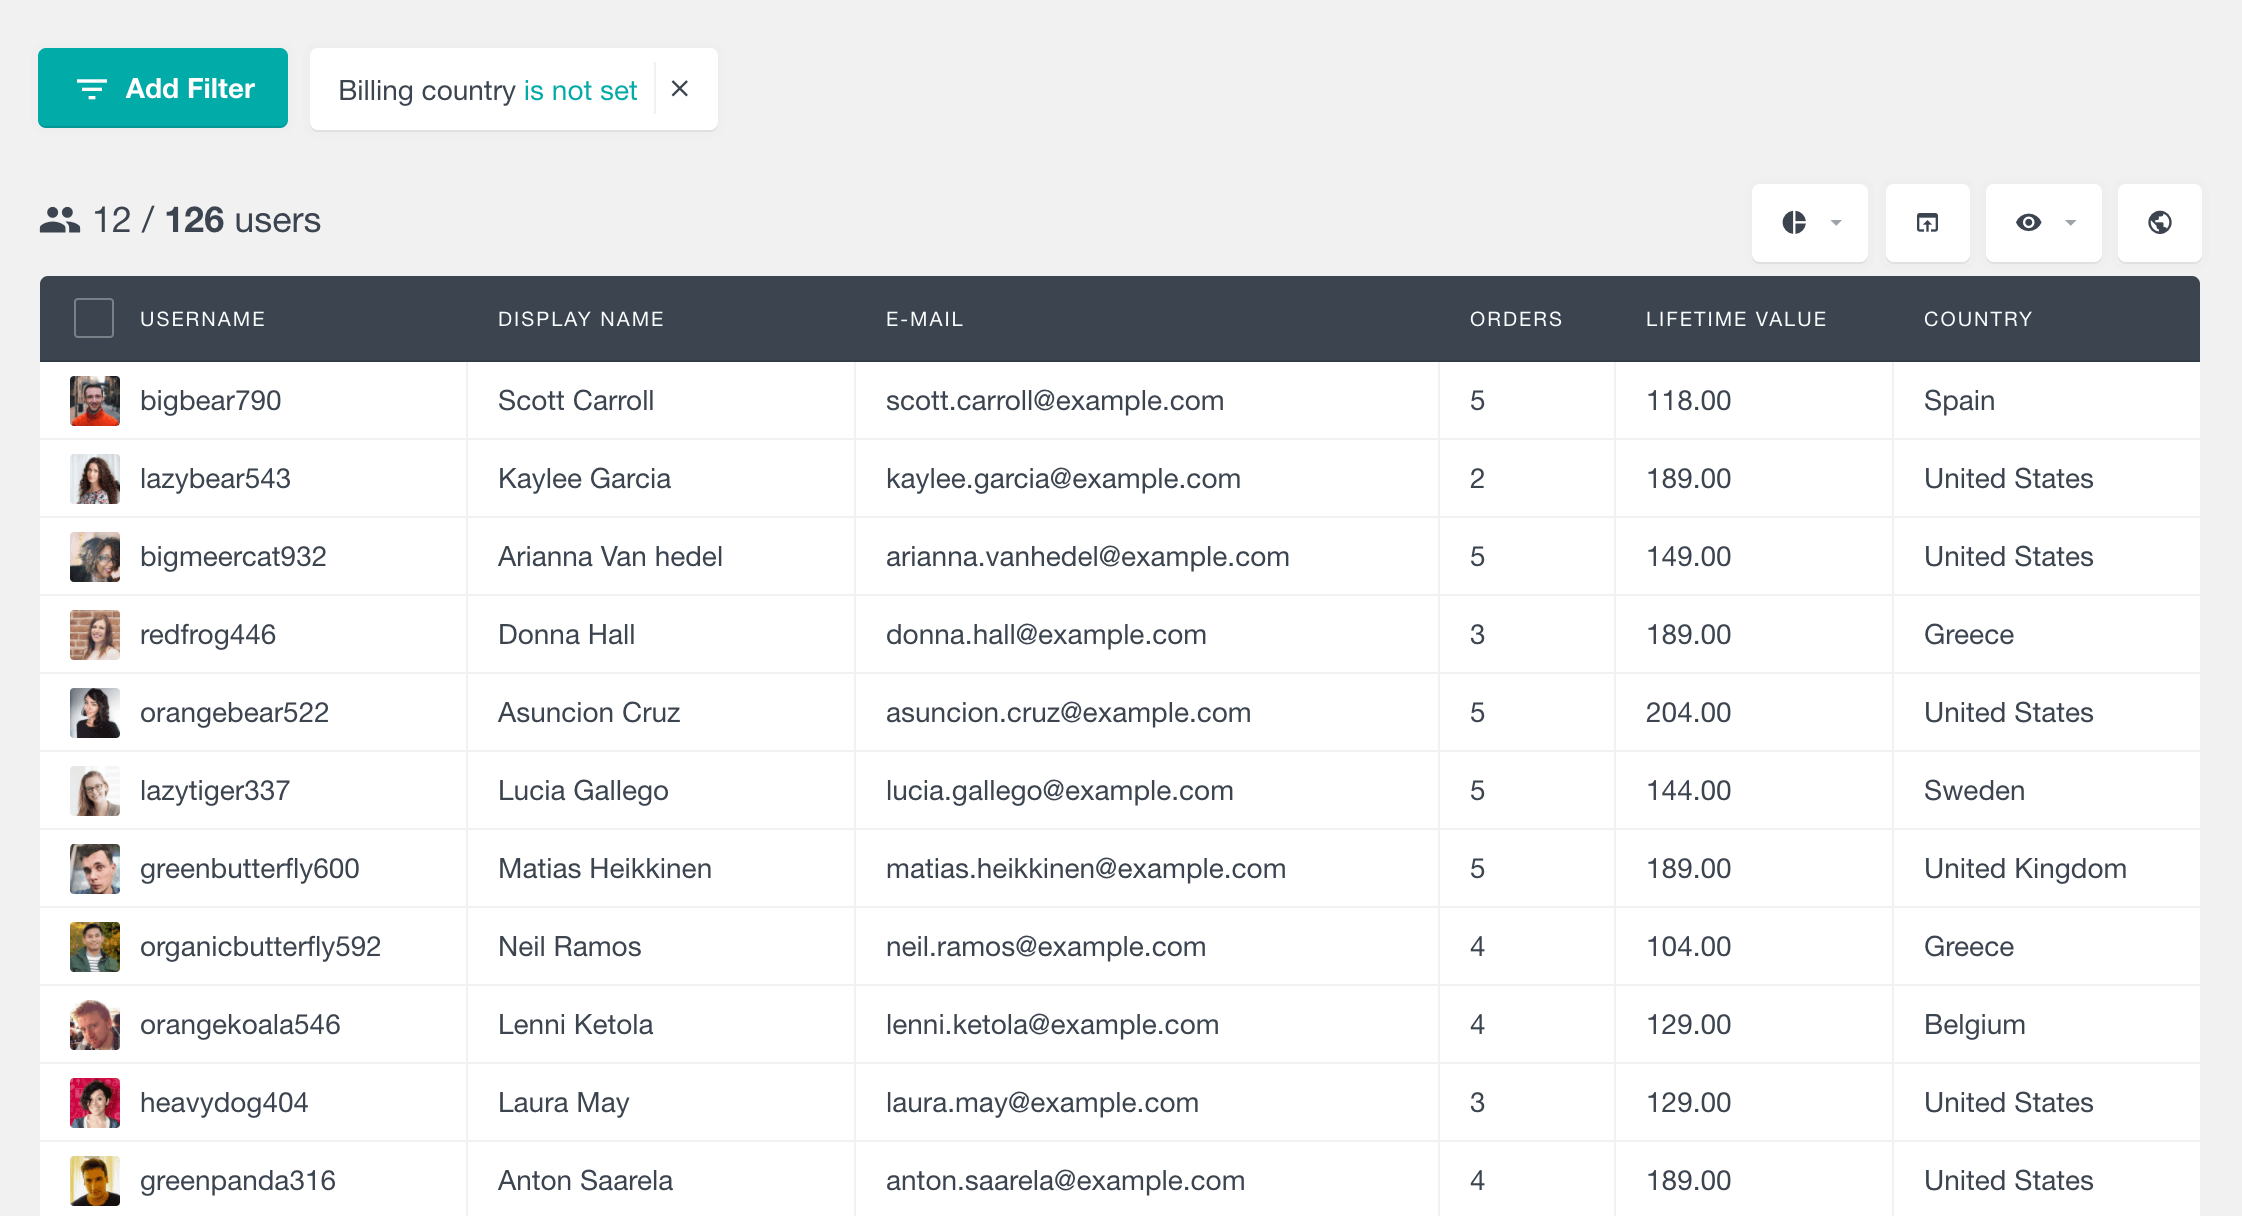
This could mean that either these users don’t have a location set, or something was wrong with your data source.
Next, we can check imported users for the assignment of the WooCommerce order. Maybe you had different email addresses, or maybe you had some small issues with your data sources. You can identify these small issues easily if you check users based on their order count.
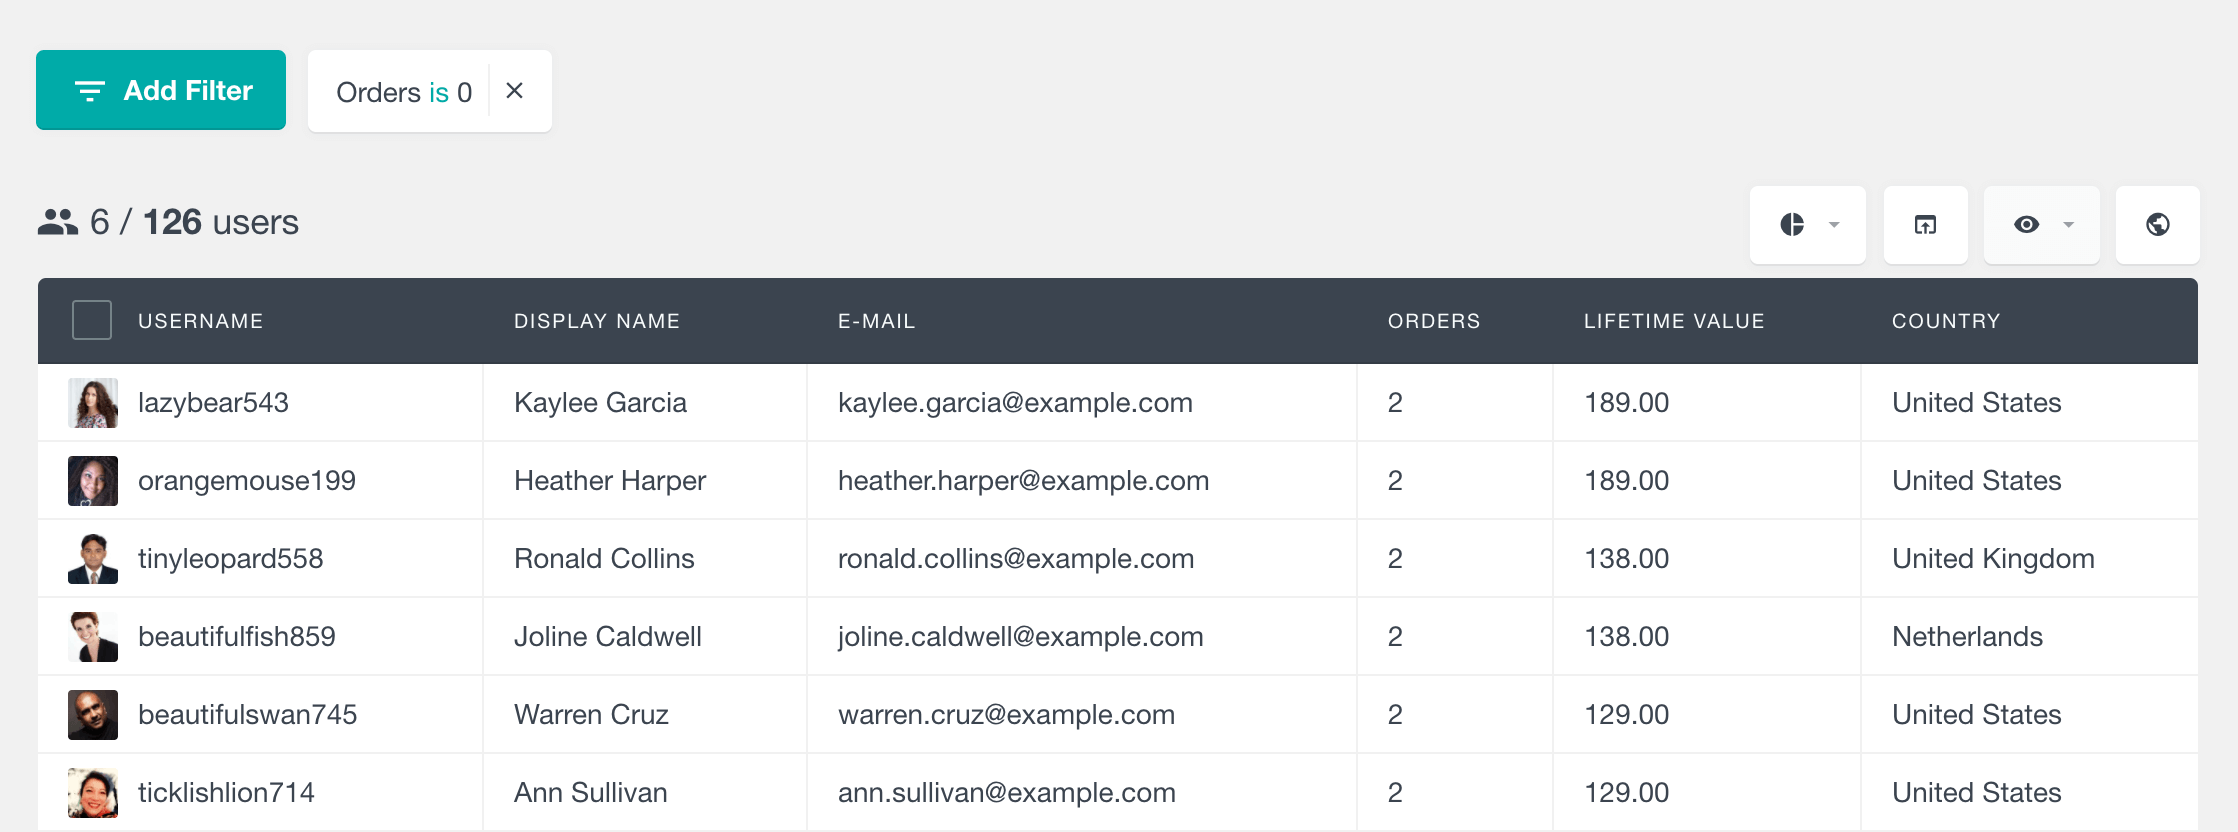
Surely, this could simply mean that these users haven’t made any orders. In this case, it is worth double-checking your original source or using other methods.
Conclusion
Today we saw how you can import customers, their addresses, company, and other custom fields. We also learned how you can apply the same technique and import orders, products, and other custom post types. There are many reasons why you might need to import and export WooCommerce customers. For example, if you’re moving your store to a new platform, you’ll need to export your customer data so that you can import it into the new system. Or, if you’re working with a third-party service, like marketing software or CRM, that needs access to your customer data, you’ll need to export it from your WooCommerce store so that they can import the data into their own system.
Hopefully, by the end of the day, you should be able to plan your export and import process. You should be able to migrate users and orders and perform similar tasks seamlessly.
We hope you enjoyed it, and see you next time!