How to disable WooCommerce checkout
There may be times when you need to disable the checkout feature for maintenance or testing purposes or simply to put your WooCommerce store on pause. In this tutorial, we will explore different ways to disable WooCommerce checkout, including using code and plugins.
Disabling the cart in WooCommerce involves restricting the functionality that allows customers to add products and make purchases on the website. Store owners might disable cart on WooCommerce to temporarily stop sales, reconfigure the store, or for various strategic reasons. This action prevents customers from adding items to the cart and proceeding to checkout.
Reasons to Disable WooCommerce Checkout
There are several reasons why an online store owner might choose to disable the WooCommerce checkout process. Some common scenarios include:
- Seasonal businesses: Stores that operate only during specific seasons, such as holiday shops or summer boutiques, may need to temporarily disable the checkout process during the off-season.
- Inventory management: Disabling checkout can be useful during inventory updates or when stock levels need to be adjusted.
- Website maintenance: Temporarily disabling checkout is necessary when performing site updates or maintenance, ensuring no customer transactions are interrupted.
- Store under construction: If an e-commerce store is in the process of being set up, disabling checkout prevents premature purchases.
- Exclusive products or services: In some cases, store owners may want to showcase products or services without allowing online purchases.
How to temporarily disable WooCommerce shop?
Temporarily disabling a WooCommerce shop can be done in various ways: using code snippets, activating maintenance mode plugins, or simply adjusting WooCommerce settings to mark the shop as “closed.” Each of these methods restricts purchases but allows customers to continue browsing. Additionally, if you want to understand your customers’ behavior during this downtime, consider using Users Insights. It provides user behavior tracking and reports that help you analyze customer data, like last login times or abandoned carts, even when the checkout process is disabled. This ensures you’re well-prepared when reactivating your WooCommerce store.
Different Ways to Disable WooCommerce Checkout
There are two primary methods to disable the WooCommerce checkout process:
- Using a plugin
- Using a custom code
Disabling Checkout with Code
If you are a developer aiming to optimize your online store’s performance, you can use a code snippet to restrict access to the cart and checkout process. This advanced solution requires familiarity with the theme’s code but is straightforward for those with a basic understanding of PHP. It offers a clean and simple approach to achieving a lightweight online shop.
To disable WooCommerce checkout with code, you will need access to the website’s files or use a WordPress plugin like Code Snippets.
WooCommerce uses filters and actions to modify its behavior, which can be customized using code snippets. In this tutorial, we will use a filter to disable the checkout process.
To disable WooCommerce checkout with code, we will use the following code snippet:
add_filter( 'woocommerce_is_purchasable', '__return_false' );
This code uses a WordPress filter to disable the purchase button on the product page. It adds a function that returns false to the woocommerce_is_purchasable filter, which disable cart and prevents customers from adding products to the cart and proceeding to checkout.
To redirect the checkout page, use this code:
function disable_cart() {
  if ( is_cart() ) {
    wp_redirect( home_url() );
    exit;
  }
}
add_action( 'template_redirect', 'disable_cart' );
This code snippet defines a function called disable_checkout() that checks if the current page is the WooCommerce checkout page using the is_checkout() conditional function. If the condition is met, the wp_redirect() function is called, which redirects the user to the website’s homepage using the home_url() function. The exit; command stops the script execution after the redirection.
The add_action() function is used to hook the disable_checkout() function to the template_redirect action hook.
The template_redirect action hook is triggered before the template is loaded, allowing the code to execute the redirection before the checkout page is displayed. By using this action hook, the code effectively disables the WooCommerce checkout process by redirecting users away from the checkout page and back to the homepage.
Customizing User Experience
To inform users about the disabled checkout process, consider creating custom messages or pages. For example, you can add a notification on your homepage or display a custom message on product pages.
Use the wc_add_notice() function to create custom messages:
function custom_wc_notice() {
  if ( is_product() ) {
    wc_add_notice( 'Our checkout process is currently disabled. Please check back later.', 'notice' );
  }
}
add_action( 'wp', 'custom_wc_notice' );
Adding Code to Theme Files or Code Snippets Plugin
To add the code snippet to the website, follow these steps:
- Access the website’s theme files or install the Code Snippets plugin.
- Open the
functions.phpfile or the Code Snippets plugin interface. - Add the code snippet to the file or the plugin.
- Save the changes.
Using a Plugin to Disable Checkout
Another way to disable WooCommerce checkout is by using a plugin. There are many plugins available that can help you disable checkout with just a few clicks.
Here are some popular plugins that you can use to disable checkout:
To install and use a plugin, follow these steps:
- Go to Plugins > Add New in your WordPress dashboard
- Search for the plugin you want to install
- Click on Install Now
- Once the plugin is installed, click on Activate
- Go to the plugin settings and follow the instructions to disable checkout

For those who want to temporarily pause their online store for a specific period of time, the Woo Store Vacation plugin is a viable option. This plugin allows the store to remain visible to customers, preserving search engine rankings, and enabling customers to browse and plan future purchases. But at the same time, the extension does disable the shopping cart and checkout process, meaning that no transactions or sales can be processed while the extension is activated.

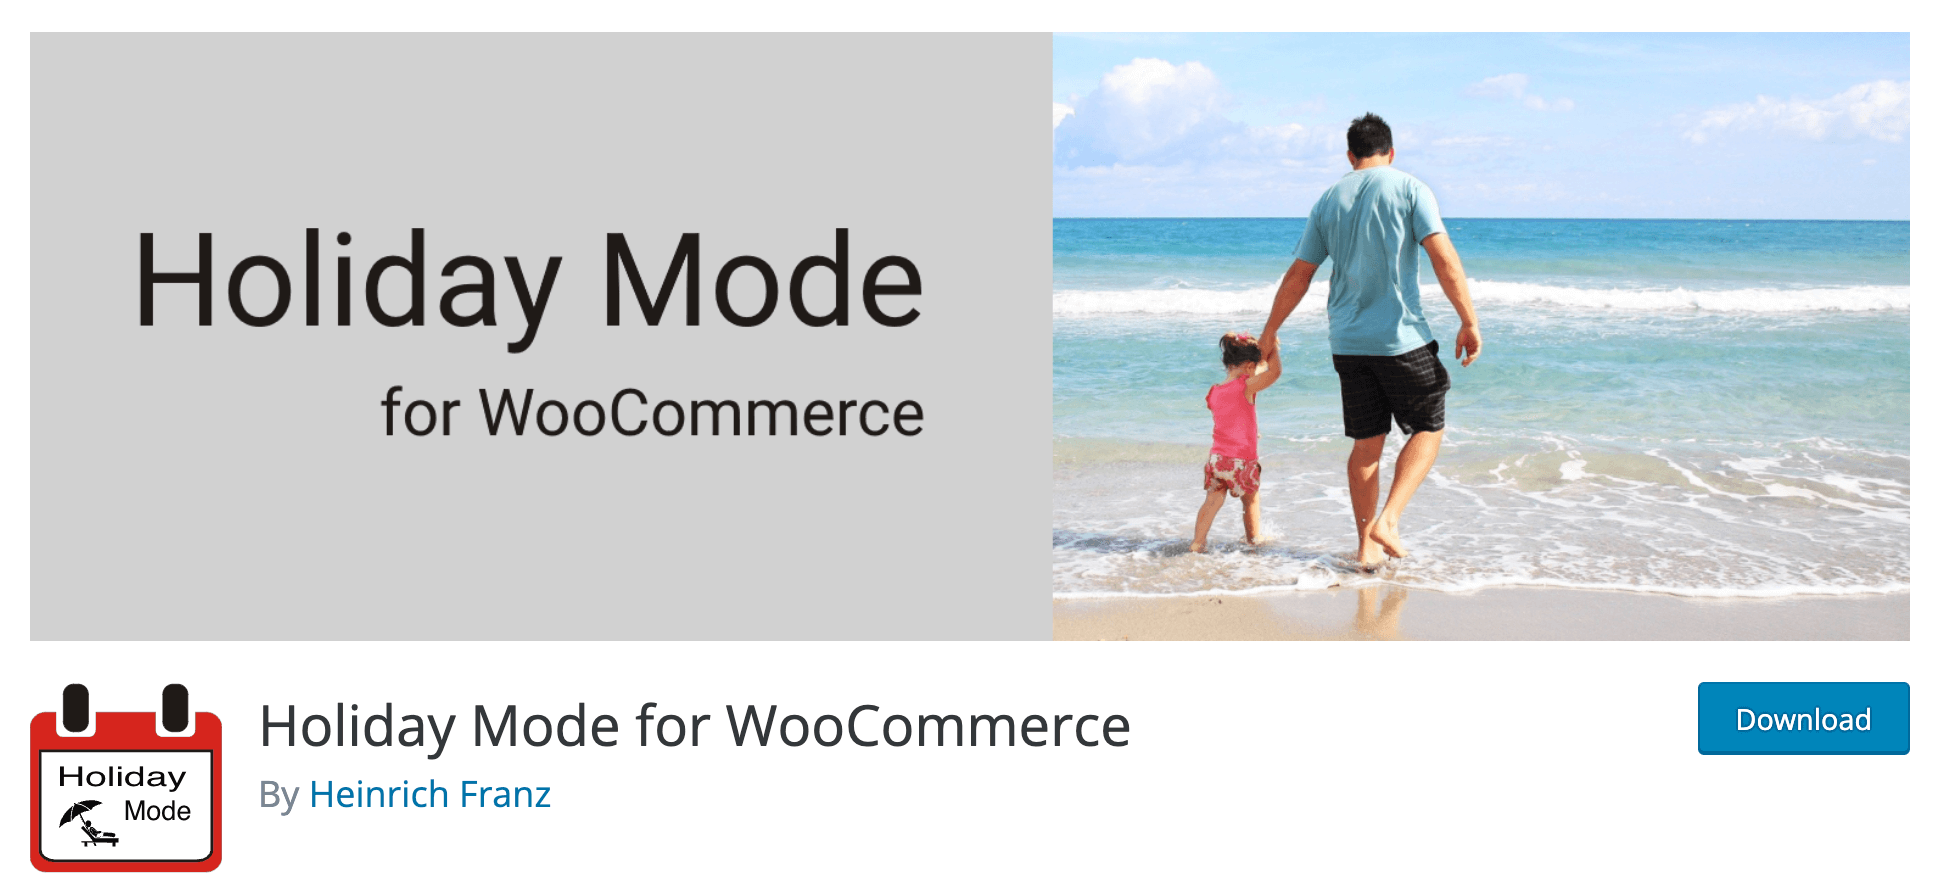
The Holiday Mode for WooCommerce plugin allows you to configure your WooCommerce shop to go into holiday or WooCommerce vacation mode by specifying a date range to schedule a closed time. You can use a WooCommerce store notice or a separate message to inform your customers of the closed period.
During this closed period, you can choose to disable orders by removing the add to cart button and displaying a custom message to your customers. You also have the option to disable the cart, which will remove items from active carts when holiday mode is activated. Furthermore, you can disable the checkout process altogether.
To keep your customers informed, you can display a custom notification or use the WooCommerce store notice. Specify a start and end date for your holiday period, and the mode will automatically disable once the vacation ends.
Other ways to disable WooCommerce checkout
- Unpublish products: To take an online store offline, you can temporarily remove products from WooCommerce. This can be done by changing the product status to “draft” or “private” in WordPress or by setting the shop visibility to “hidden.” However, this method best suits short-term shutdowns and only works well for a few products. It requires manual intervention, and there is a potential for human error.
- Catalog Mode: Using the Advanced Catalog Mode extension is an option for those who need more advanced product access rules. It turns your online store into a catalog displaying products without prices or checkout buttons. Visitors can contact the shop for a quote or arrange for a purchase. The extension allows you to redirect visitors to a new page for personalized quote requests or only allow logged-in users to place bulk or wholesale orders. WooCommerce catalog mode can also pause your shop while maintaining your search engine rankings.
- Make WooCommerce private: The WooCommerce Private Store option can temporarily disable or hide a WooCommerce store. It is especially useful for those who are sick, on leave or need to temporarily close their store due to inventory issues or staffing problems. It can also be used as a WooCommerce store vacation plugin.
Enhancing User Experience During Checkout Deactivation
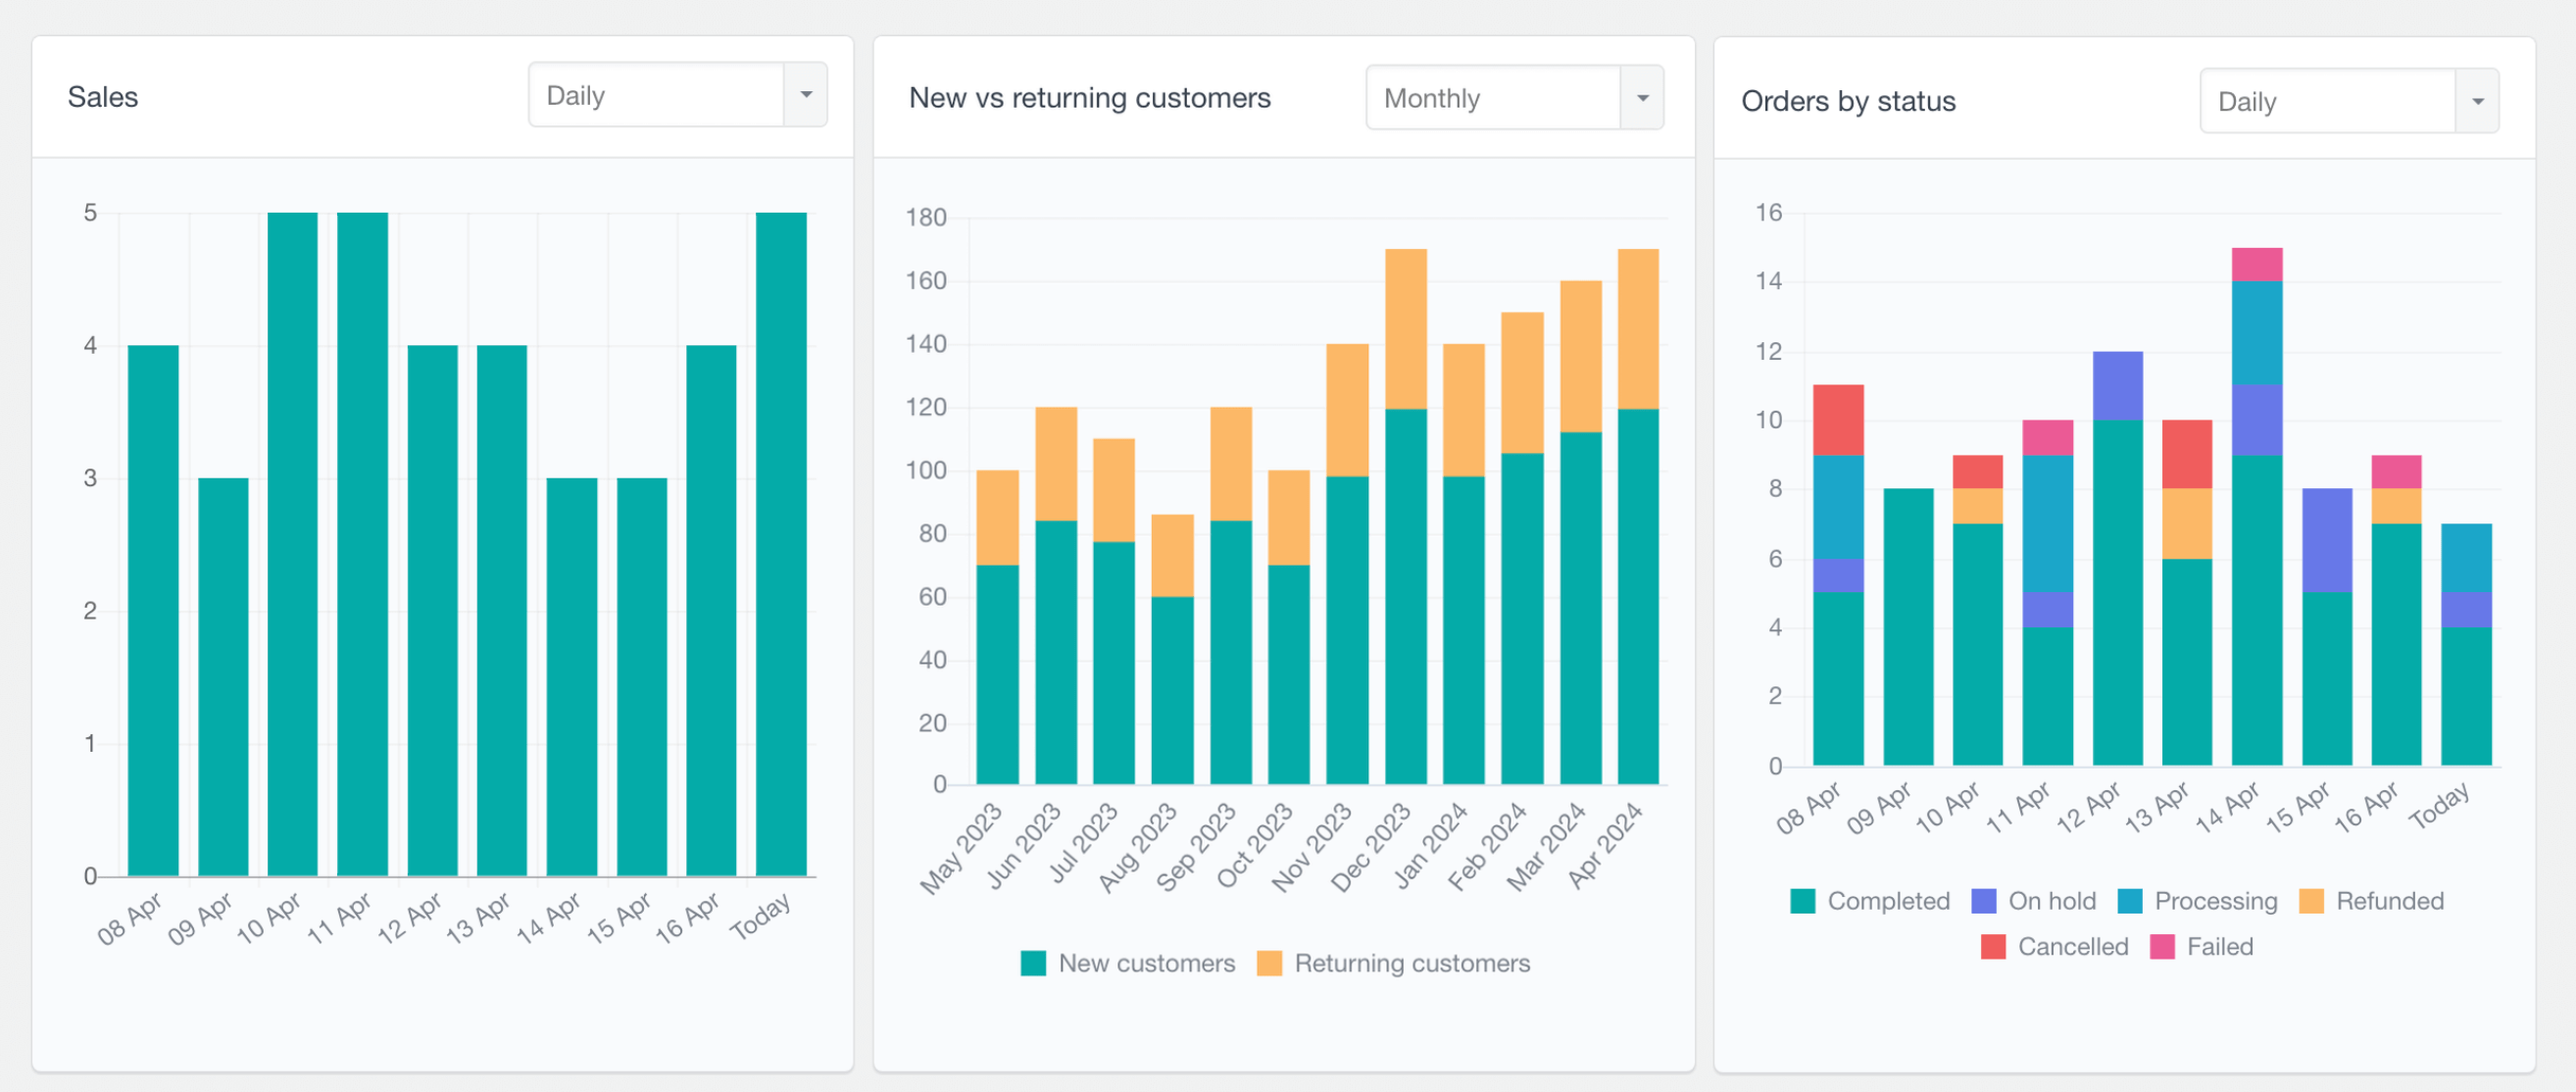
When the checkout process is disabled, understanding customer behavior becomes crucial to avoid potential sales losses. Users Insights, a WordPress plugin, offers advanced features that integrate seamlessly with WooCommerce, allowing you to track user activity even during checkout suspension.
 Here’s how Users Insights can help:
- User Activity Tracking: See which pages customers are visiting, even if checkout is disabled. This helps you understand user interest and intent.
- Cart Analysis: With Users Insights, you can monitor carts that were abandoned during the checkout suspension. This data can inform your follow-up campaigns once the checkout is re-enabled.
- Customer Segmentation: Use smart filters to segment users based on past purchase history, allowing for targeted re-engagement strategies once sales resume.
Using Users Insights during temporary checkout deactivation not only keeps you informed about user behavior but also enables you to make data-driven decisions for reactivation strategies.
Re-enabling Checkout
If you need to re-enable checkout on your WooCommerce website, it is easy to do so; follow these steps:
- For code snippets: The first option is to remove the code from your site, which can be done by accessing the source code of the website and deleting any code that has been previously added. If you have used the code snippets plugin, you can disable the specific snippet.
- For plugins: If you have used a plugin to temporarily disable the WooCommerce checkout page, you can use the plugin options to re-enable the checkout process. Alternatively, you can also disable the plugin you have installed for disabling the checkout. This can be done by accessing the plugins section in WordPress, selecting the plugin, and clicking on disable.
Either of these methods should allow you to re-enable checkout on your WooCommerce website quickly and easily.

Unlock the Full Potential of Your WooCommerce Customer Data
Conclusion
Disabling checkout in WooCommerce can be useful for various reasons, including maintenance and testing or putting your e-commerce store on holiday. In this tutorial, we explored two ways to temporarily disable WooCommerce checkout using code snippets and a dedicated WordPress plugin. We also discussed how to re-enable the checkout functionality again. With these steps, you can disable checkout on your WooCommerce website easily.

