How to search and filter Paid Memberships Pro members by level
In this article we are going to look into the different ways you can search and filter your Paid Memberships Pro members by their membership level data. We will show you how to use different options and features in Users Insights, so you can improve your membership management and build and enhance the functionality of your own paid member subscription website.
Paid Memberships Pro Module
Paid Memberships Pro (PMPro) is one of the most commonly used membership subscription plugins for WordPress. The PMPro module of Users Insights automatically extracts the members and sales data from Paid Membership Pro Plugin and imports it into Users Insights table and smart filters. In this article we’ll look into the membership levels data particularly.
If you are running a membership website that has multiple subscriptions levels, now with the help of Users Insights you would be able to segment your members based on this data.

Membership Level
It is important for any subscription business owner to get to know their members well. Later on, in this article, we will learn how we can track the performance of every level.
Once you activate the Paid Memberships Pro module, there will be a “Level” column available for each user in the list. To make this column visible on the table, click on the Toggle Columns menu and check the “Level” checkbox.
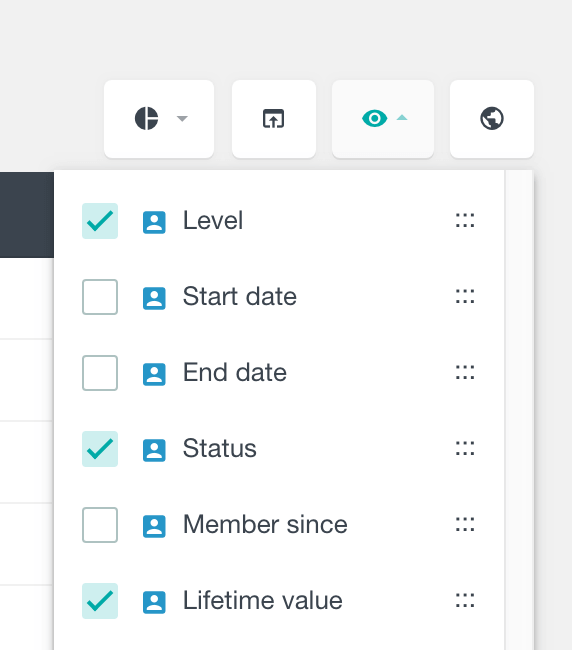
The Level column can help you explore the plan that each user is subscribed to.
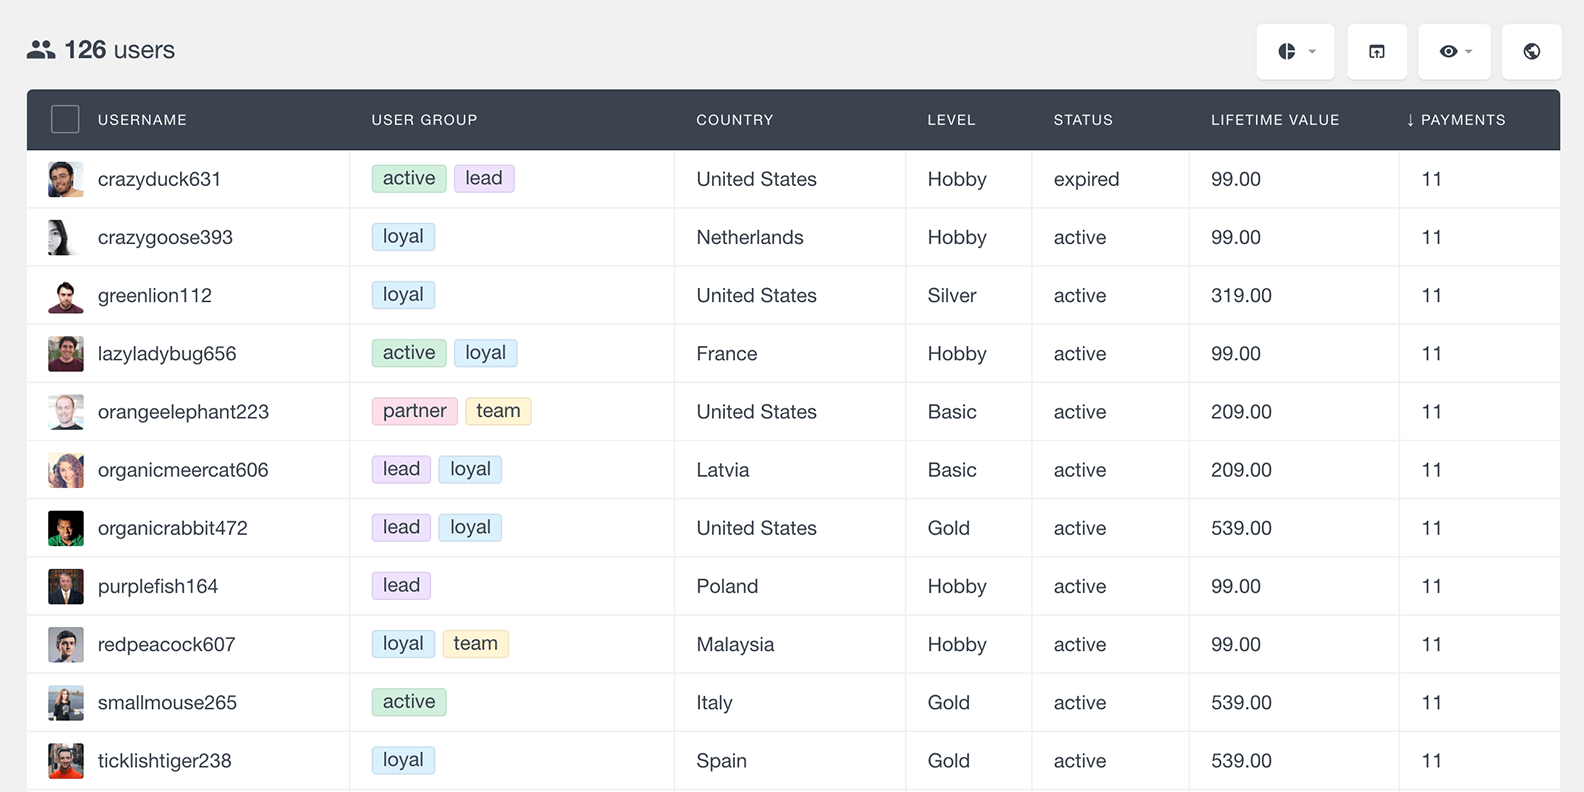
This field is also available in the smart filters, which means that that you can filter your users based on their membership level. For example, if you have a level called “Gold”, you can find all the users who are subscribed to this level by applying a “Level is Gold” filter.
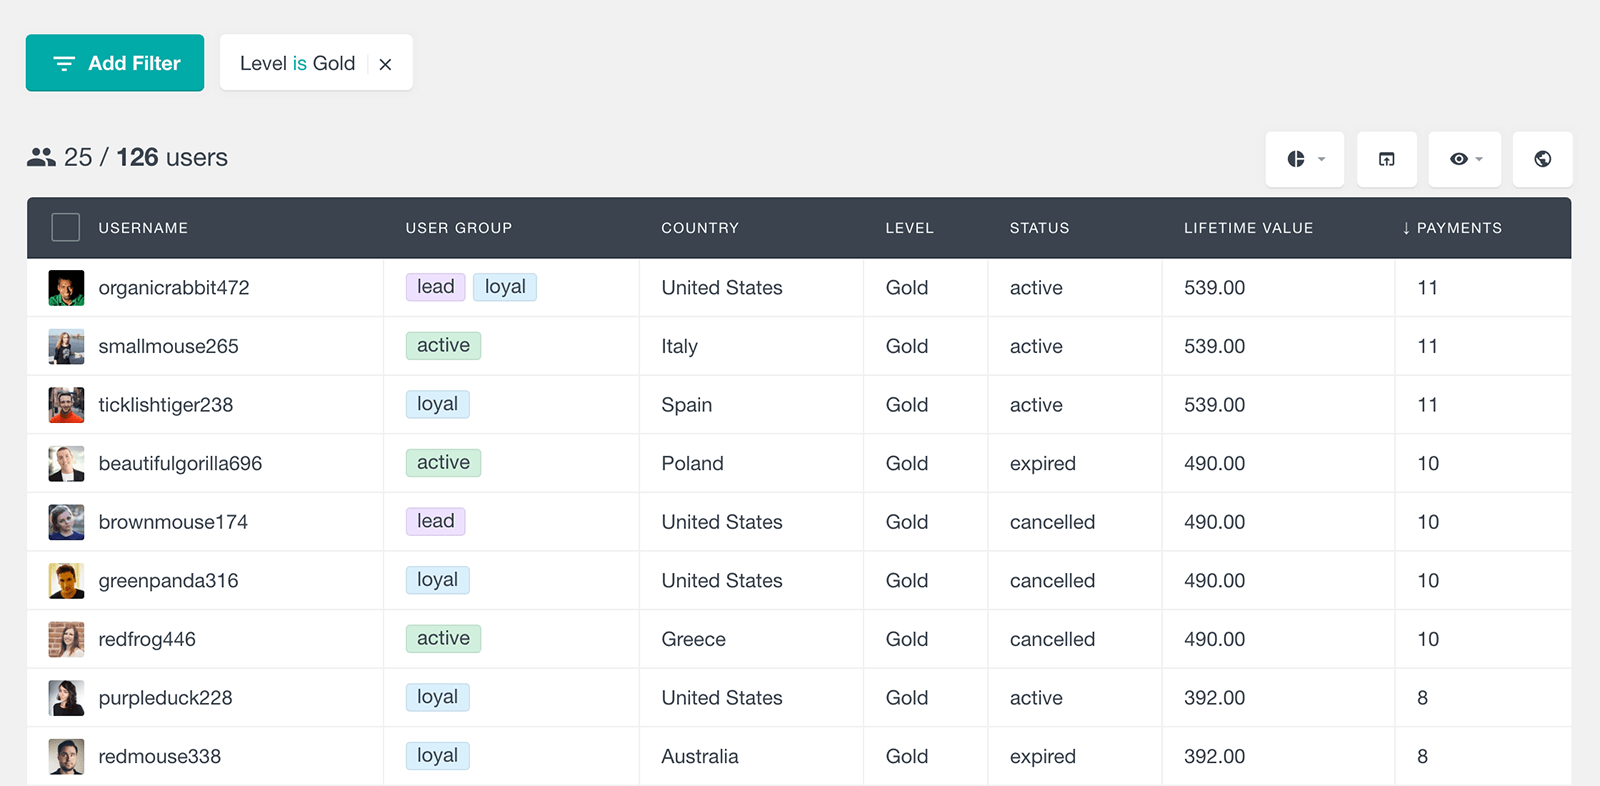
Similarly, if a situation arises where you have to only exclude members with gold membership, you can use the filter to choose “Level is not Gold”.
Filter users by their membership level and status
If you are running a subscription business, often times you will come up with the need to select specific subscription members whose membership status is active, expired or cancelled. This helps in knowing your members better. In this way you can devise a branding or marketing strategy in order to get more conversions from your subscription business.
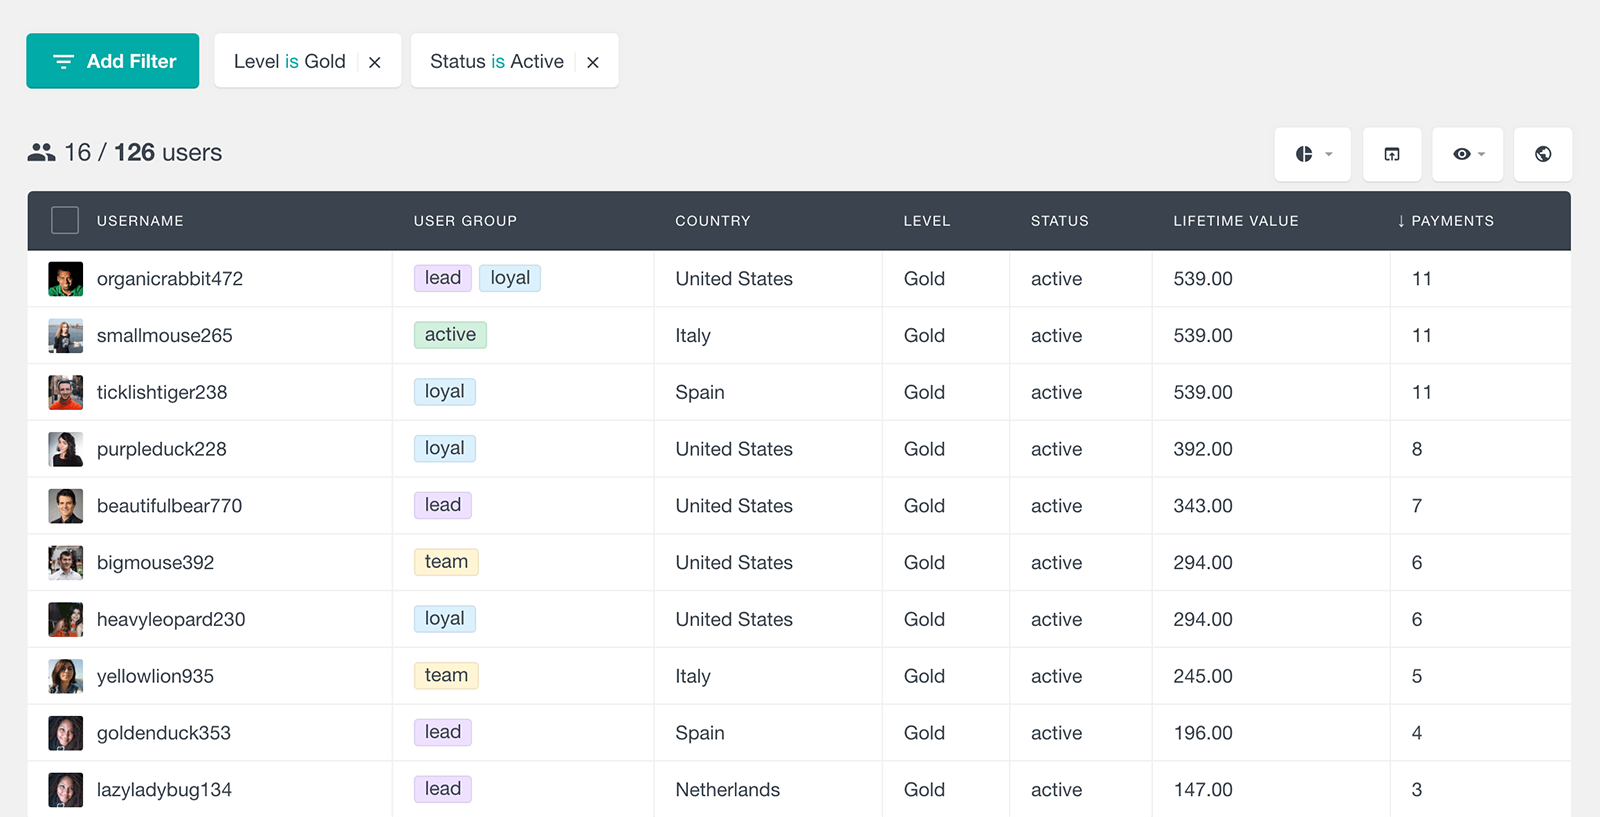
The Level filter can be used to segment the users and show members with all the statuses. It could also be a good idea to show past members whose membership is expired or cancelled so you could re-engage them into your business. To find all the active members with a selected level, you can combine the Level and Status filter.
Finding users by their membership level and lifetime value
Lifetime Value is an estimate of the average revenue that a customer generates throughout their time on your website as a customer. Many important business decisions such as budgeting, profitability and forecasting are made keeping Lifetime value under consideration.
While you can find the average lifetime value by using the lifetime value report, this will cover all the members from all levels. You might, however need to find how each level is performing individually when it comes to lifetime value. You might find that some of the levels are a lot more profitable than the others.
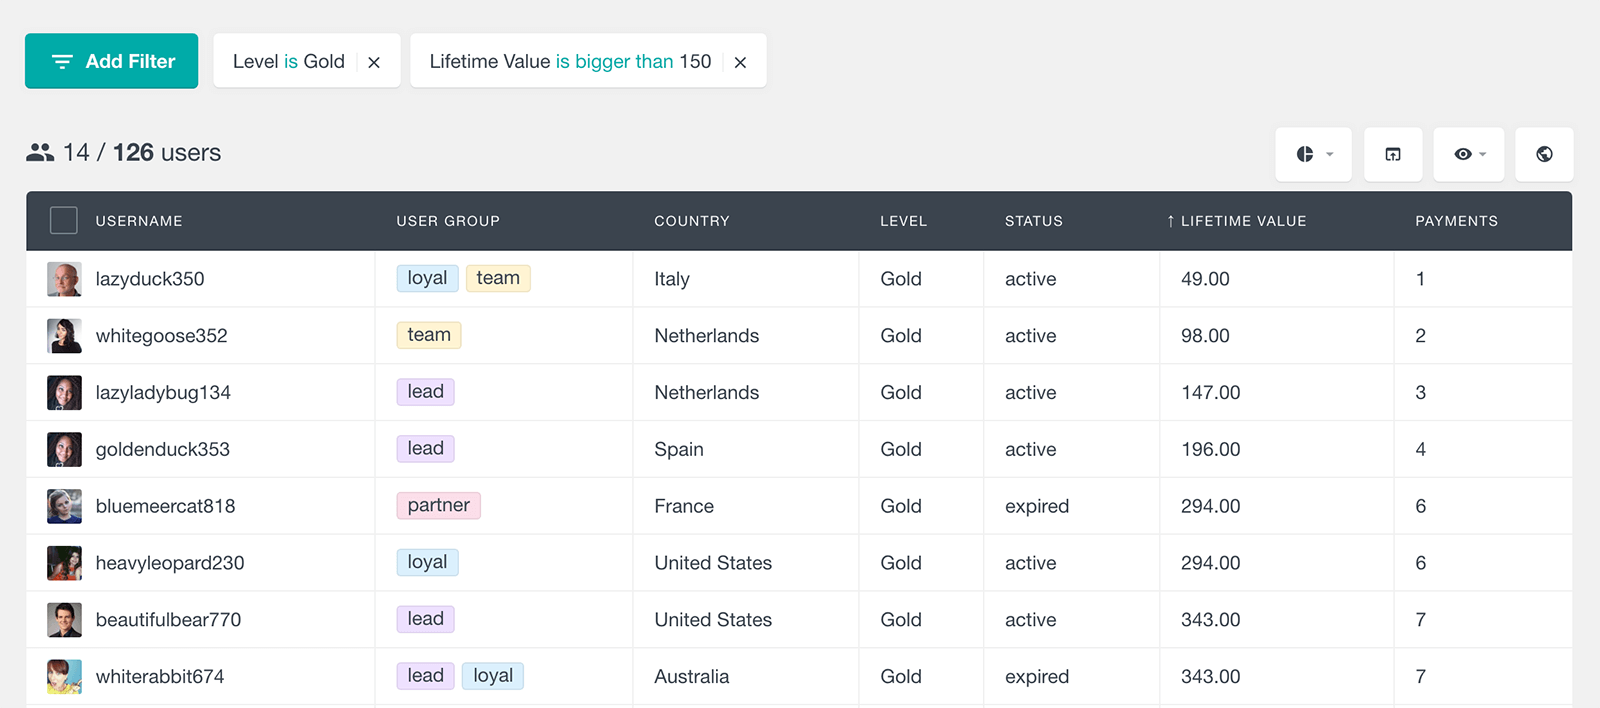
If you would like to filter members by their membership level and their lifetime value, first you need to apply a filter to segment the users by their level. Then add another filter to see only members with lifetime value bigger than a certain amount.
After this you can explore the results in the table, or alternatively you can export them to a spreadsheet app (e.g. Excel or Google Sheets). In this way you can apply arithmetic operations to generate various reports.
Exporting members from a selected level
If you would like to export all the members from a specific membership level, you can use the built-in export feature of Users Insights, located at the top right.
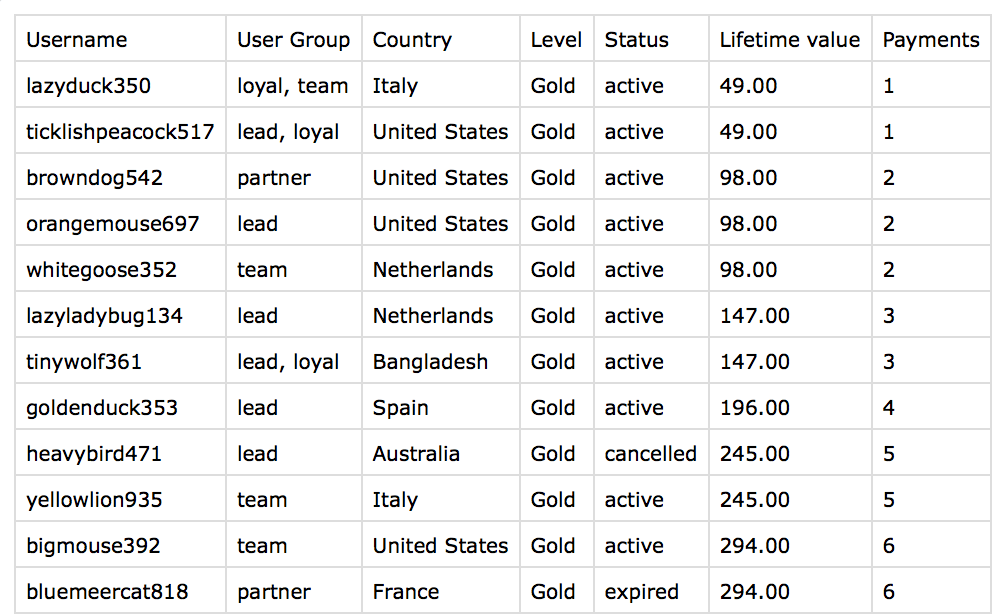
When you click on the export button, the data will be exported in the exactly same format as displayed on the table. If you have any filers applied, only the result of the filters will be exported. Otherwise, all the Paid Memberships Pro users will be exported into the CSV file.
You can also choose which field to export by toggling the column visibility from the eye-icon menu. All the columns that are currently visible on the table will be exported in the same order.
All this means that you can apply any of the above-mentioned filters and export the results. For example, you can easily export all the members subscribed a particular level just by using the Level filter:
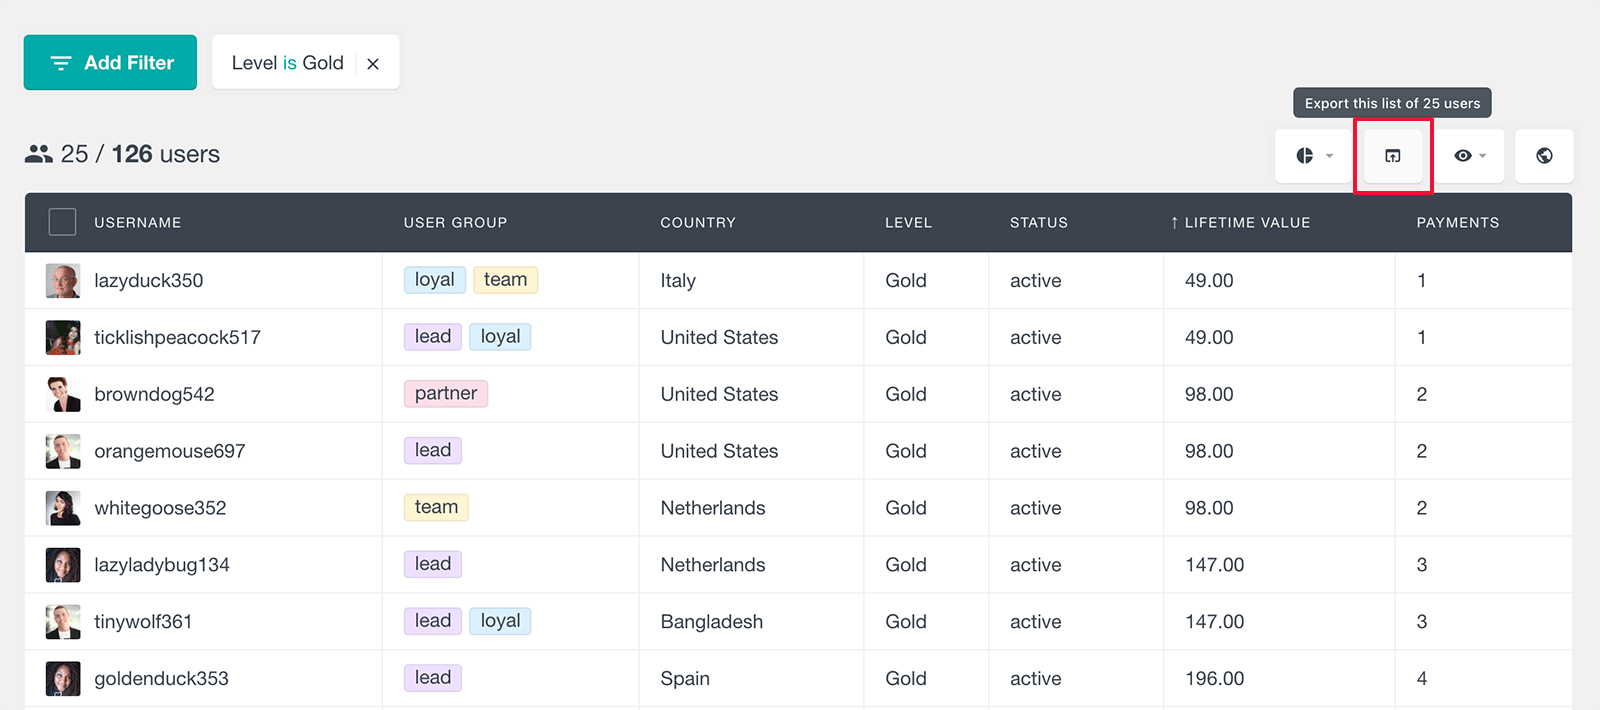
Clicking on the export button will pop up a dialogue butting asking you to confirm the export process. Confirming it will start the export process and you will get a CSV file with your requested data. The CSV file that you export will look like this:
Using reports to understand PMPro level performance
Using the Users Insights integration for the Paid Memberships Pro plugin, you are able to use automatically generated reports to understand your members better and grow your membership business. Since the reports are real time and are generated instantly, you are able to get detailed insights in visual form on how your membership site is performing. Reports are a useful from the perspective that they present a lot of data in visual form that can be understood and remembered easily as compared to tabular form.
Number of members per level
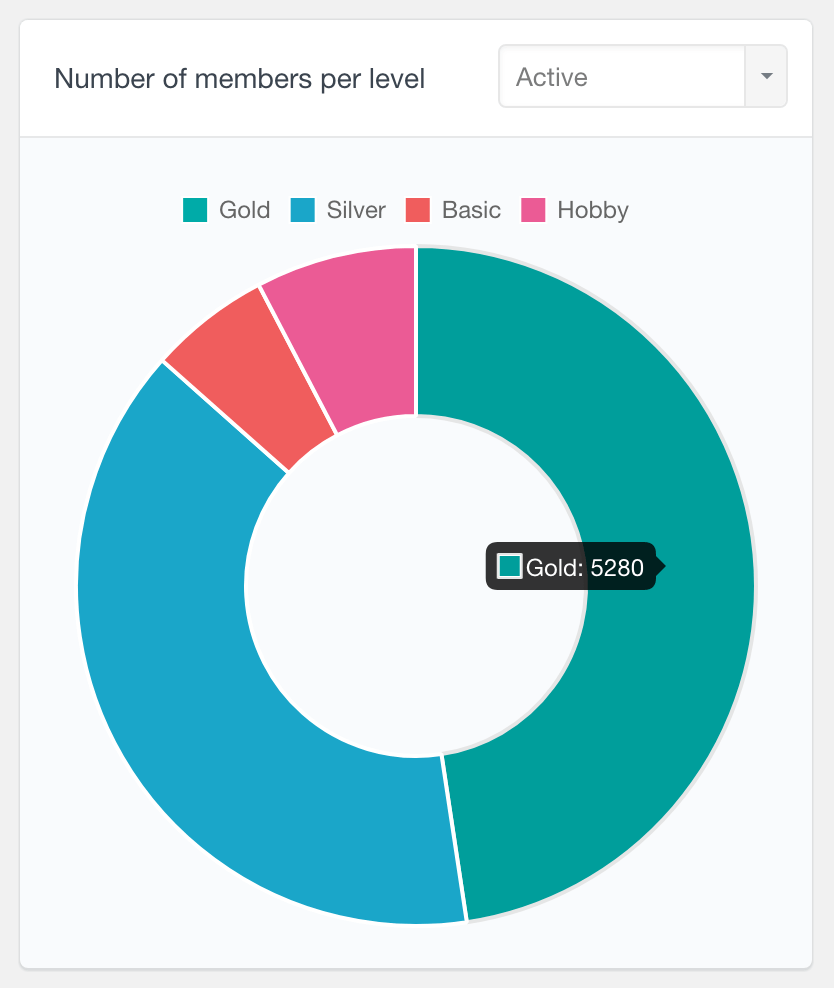
As we mentioned above, you can use the Users Insights filters to find the number of members for each level. You can also get a visual representation of these numbers by using the “Number of members per level” report.
This is the kind of report that is most commonly used by anyone who has a subscription website with Paid Memberships Pro plugin installed. It shows how many users are subscribed to each PMPro plan and shows the data in a pie chart. Similarly to using the filters, you can choose to show only the memberships with a selected status or all statuses.
Membership level statuses
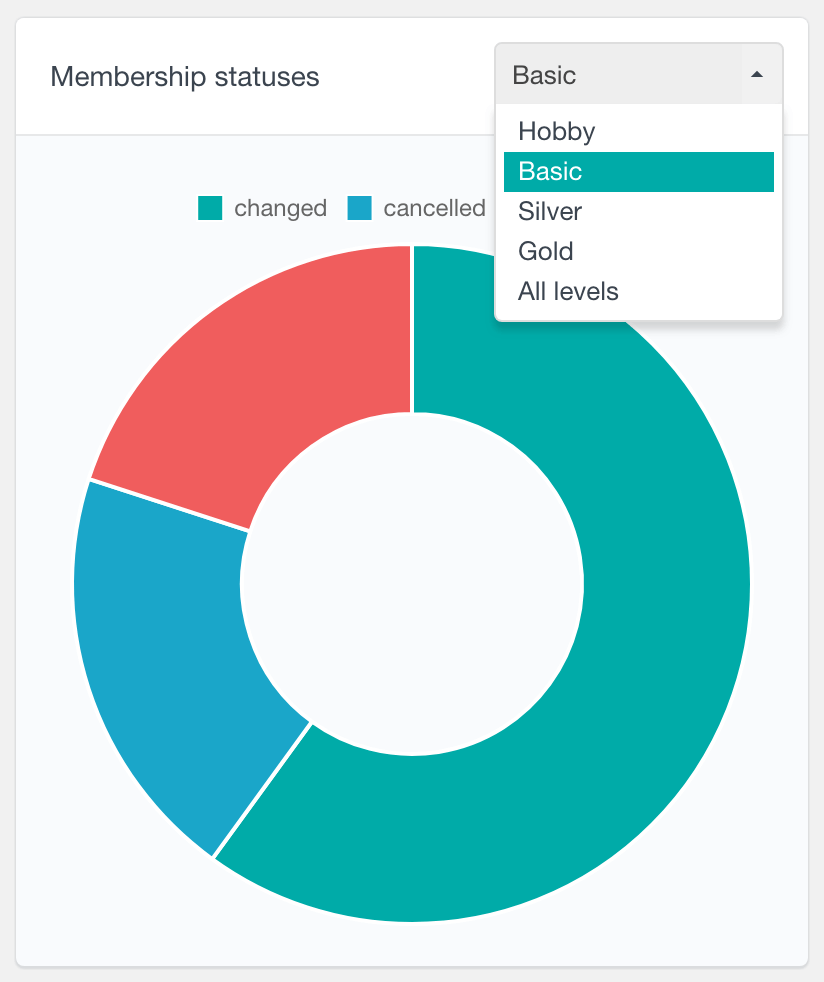
Another way to understand how each Paid Memberships Pro level is performing is by using the “Membership Statuses” report. With this report you can see the membership statuses for all of the plans or use the drop-down menu to see the insights for each individual plan. This report can save you some time, as you won’t have to filter the user table by each plan and status to find the number of memberships from each status.
Conclusion
Today we learned how we can use Users Insights to search, filter and analyze the Paid Membership Pro users by level. We learned how we can get to know our members better by filtering them by levels and get useful insights to increase conversions. In this way, we can organize and implement improvements over our membership sites, understand our users better and increase user activity.
