How to filter WooCommerce Memberships users by plan
WooCommerce Memberships websites allow you to offer exclusive contents and products to your members. The WooCommerce Memberships module of Users Insights is making the process of customer management simple and easy.
In this article, we will look into how you can filter your WooCommerce members based on their WooCommerce Memberships plans as well as how to get meaningful insights from this data.
Filtering and sorting your users based on their plan can help you get insights on your members in a number of ways. You can also export the filtered data to for backups, transfer to another system or WooCommerce membership report generation. So, let’s dive right in and start with the filters of the WooCommerce Memberships module.
Membership plans filter
The ‘Membership plans’ is a filter provided by the WooCommerce Memberships module. It is only available as a filter though, and cannot be used as the field to display in the user’s table. If you want to display your members based on the type of membership plans that they are subscribed to, you can easily use this to get the results.
In the examples used in this article, we will be using ‘Gold’, ‘Silver’, or ‘Basic’ as values for membership plans. In most of the websites, similar types of values are common.

Another thing to note is that, in WooCommerce websites, a single user can have more than one plan. In such cases, the information about which plan each user is subscribed to is stored in the database in form of a certain value.
Filtering customers by the membership plan
You can use the ‘Membership plans’ filter offered by the WooCommerce Memberships module of Users Insights to find all the customers who are subscribed to a specific plan. Once the module is activated, you can go to your users’ table and select the ‘Add Filter’ button. From the drop-down, choose ‘Membership plans’. This filter offers you two different ways of filtering your users. You can either include a plan, or you can exclude it. The final column in the filter will show you the values for all the plans that you have in your website.
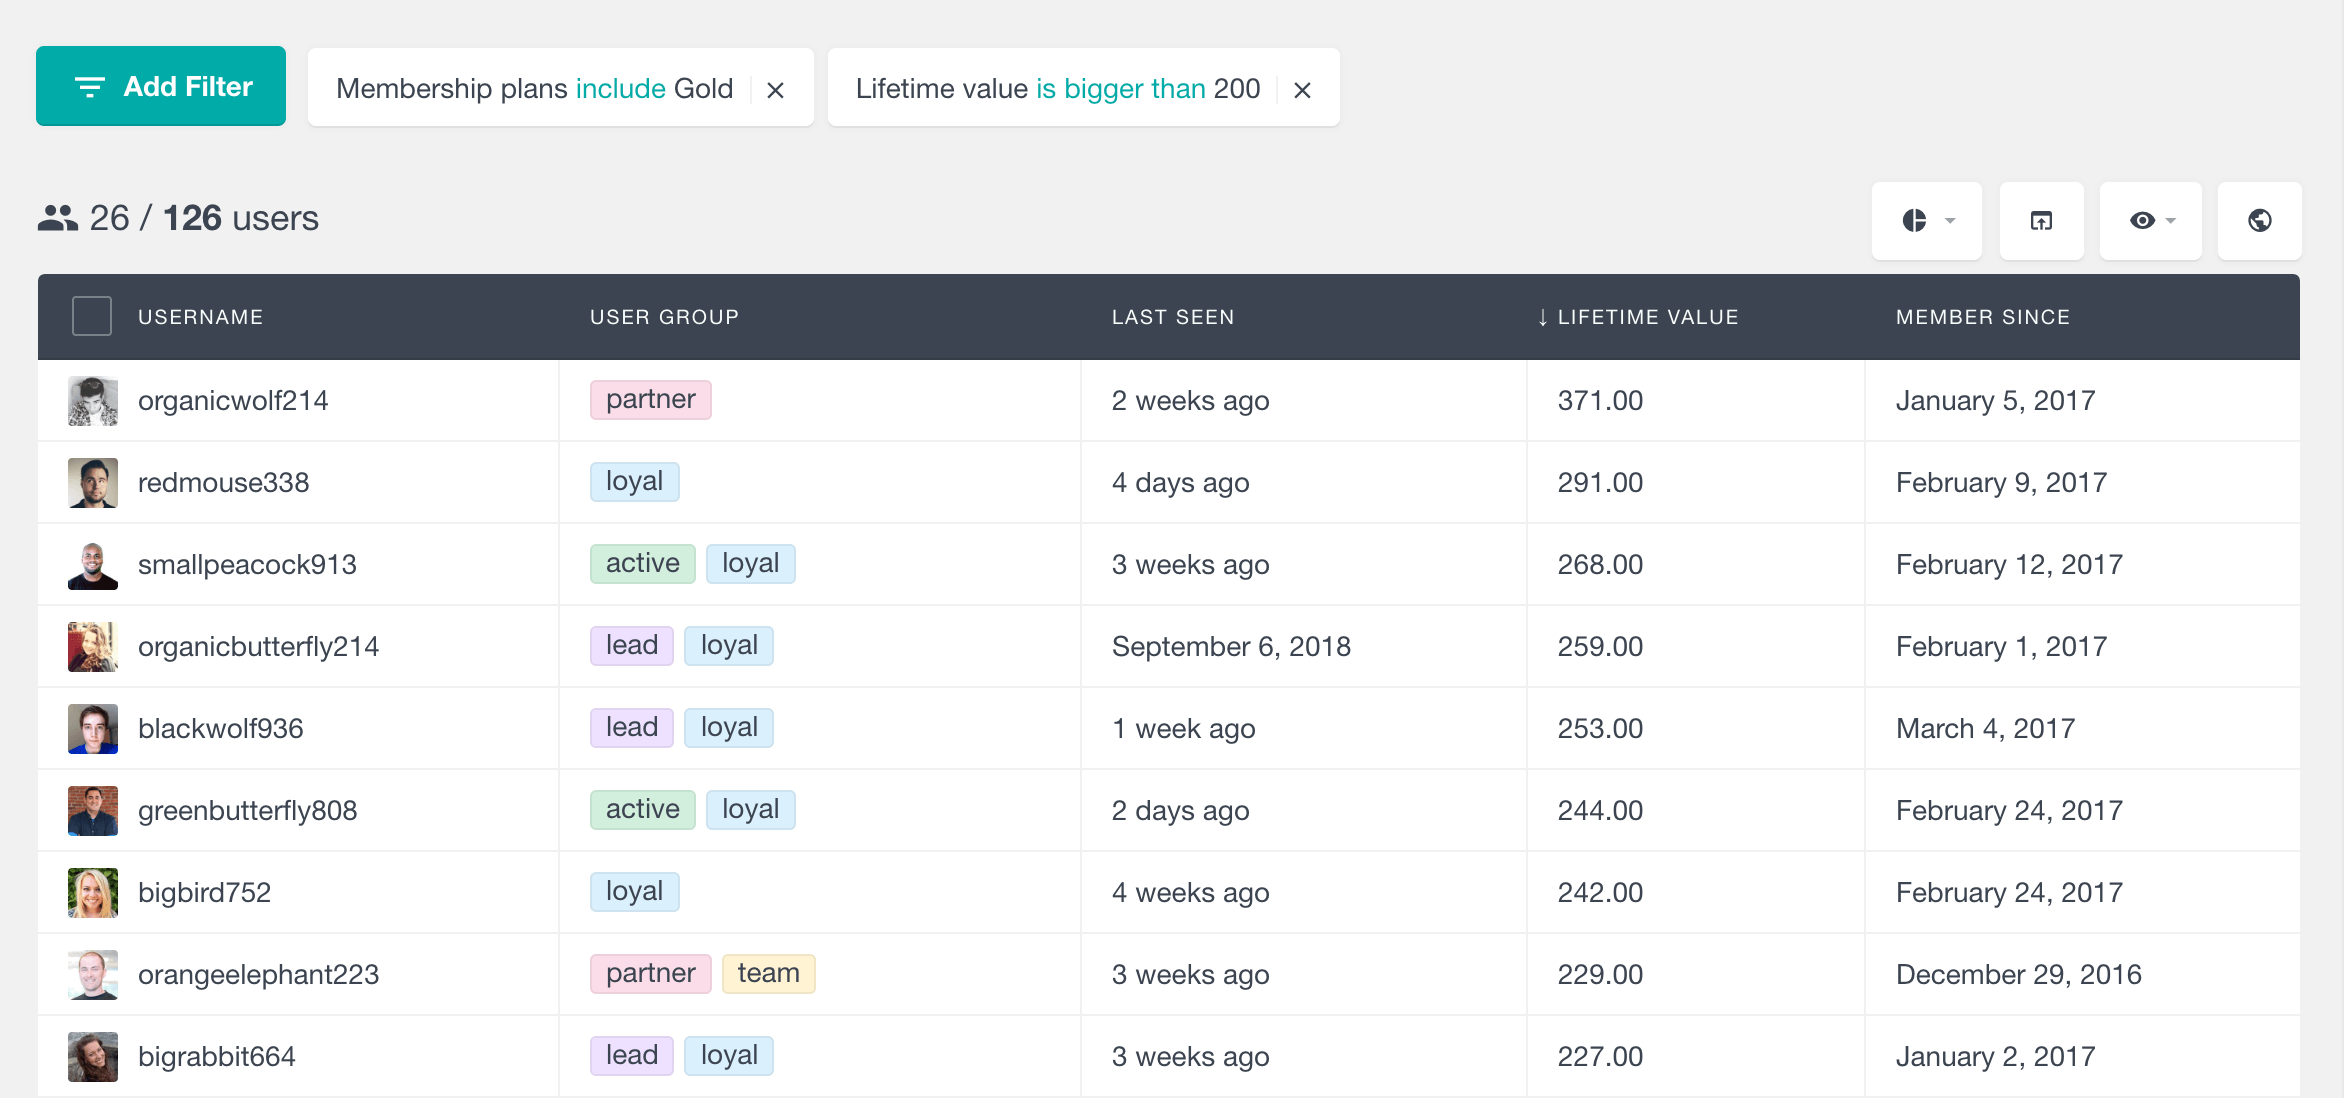
For example, if you want to get the names and e-mail addresses of all your users who are subscribed to at least one ‘Gold’ membership plan and have lifetime value more than $200, you can use the following filters.

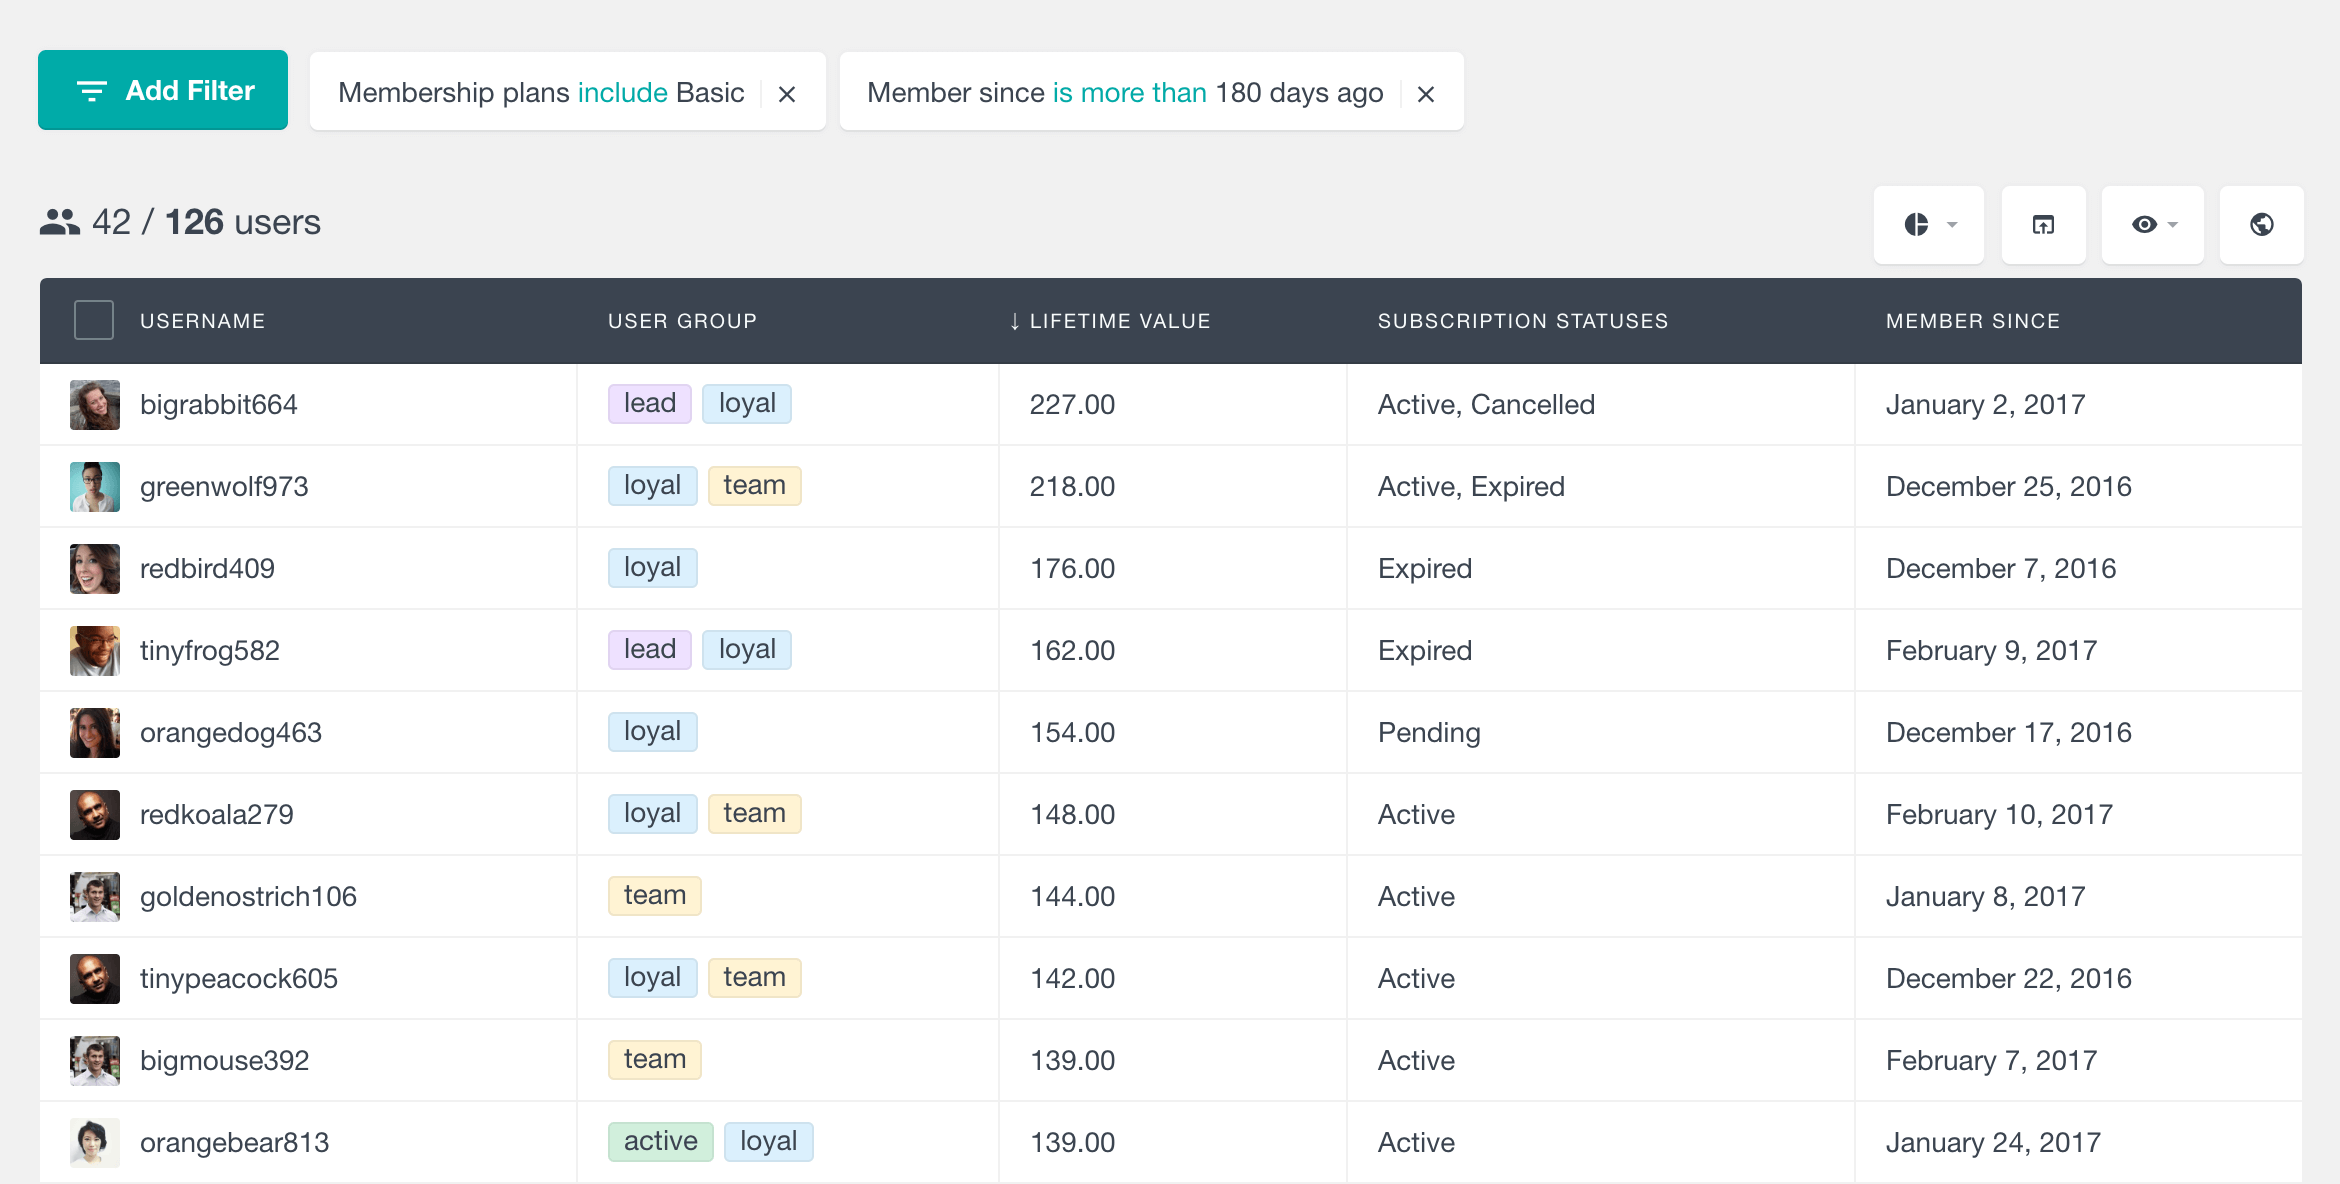
Another example would be to find all the members who have been having members since a half a year ago. Once applied, these filters should give you a result similar to the following.

However, using two different filters in such a way only works best if the users have only one subscription. If, for example, a user has a cancelled ‘Basic’ plan and an active ‘Gold’ plan, the filters “Plan includes Gold” and “Status includes cancelled” will still show the user. This can provide misleading information and you should be aware of it.
Real life applications
The above example shows how your member data can be filtered by only using member related filters. Chances are, in the real world, you will be forced to work with your members’ data in much more complicated ways.
Some of such ways in which filtering of user data by plans can be useful are described below
To send upgrade coupons to users of ‘Basic’ plan
You might have users who have been supporting you by using your website for extended amounts of time. There is a high chance that such members might want to get a better plan for themselves. You can provide such loyal users with coupons for minimised pricing to upgrade their plans.
To do this, you will have to filter the data of all those users who have a ‘Basic’ plan and have been using your website for a long period of time. Then, you can export the filtered data, take the e-mail addresses of all those users and send them emails with the upgrade coupons.
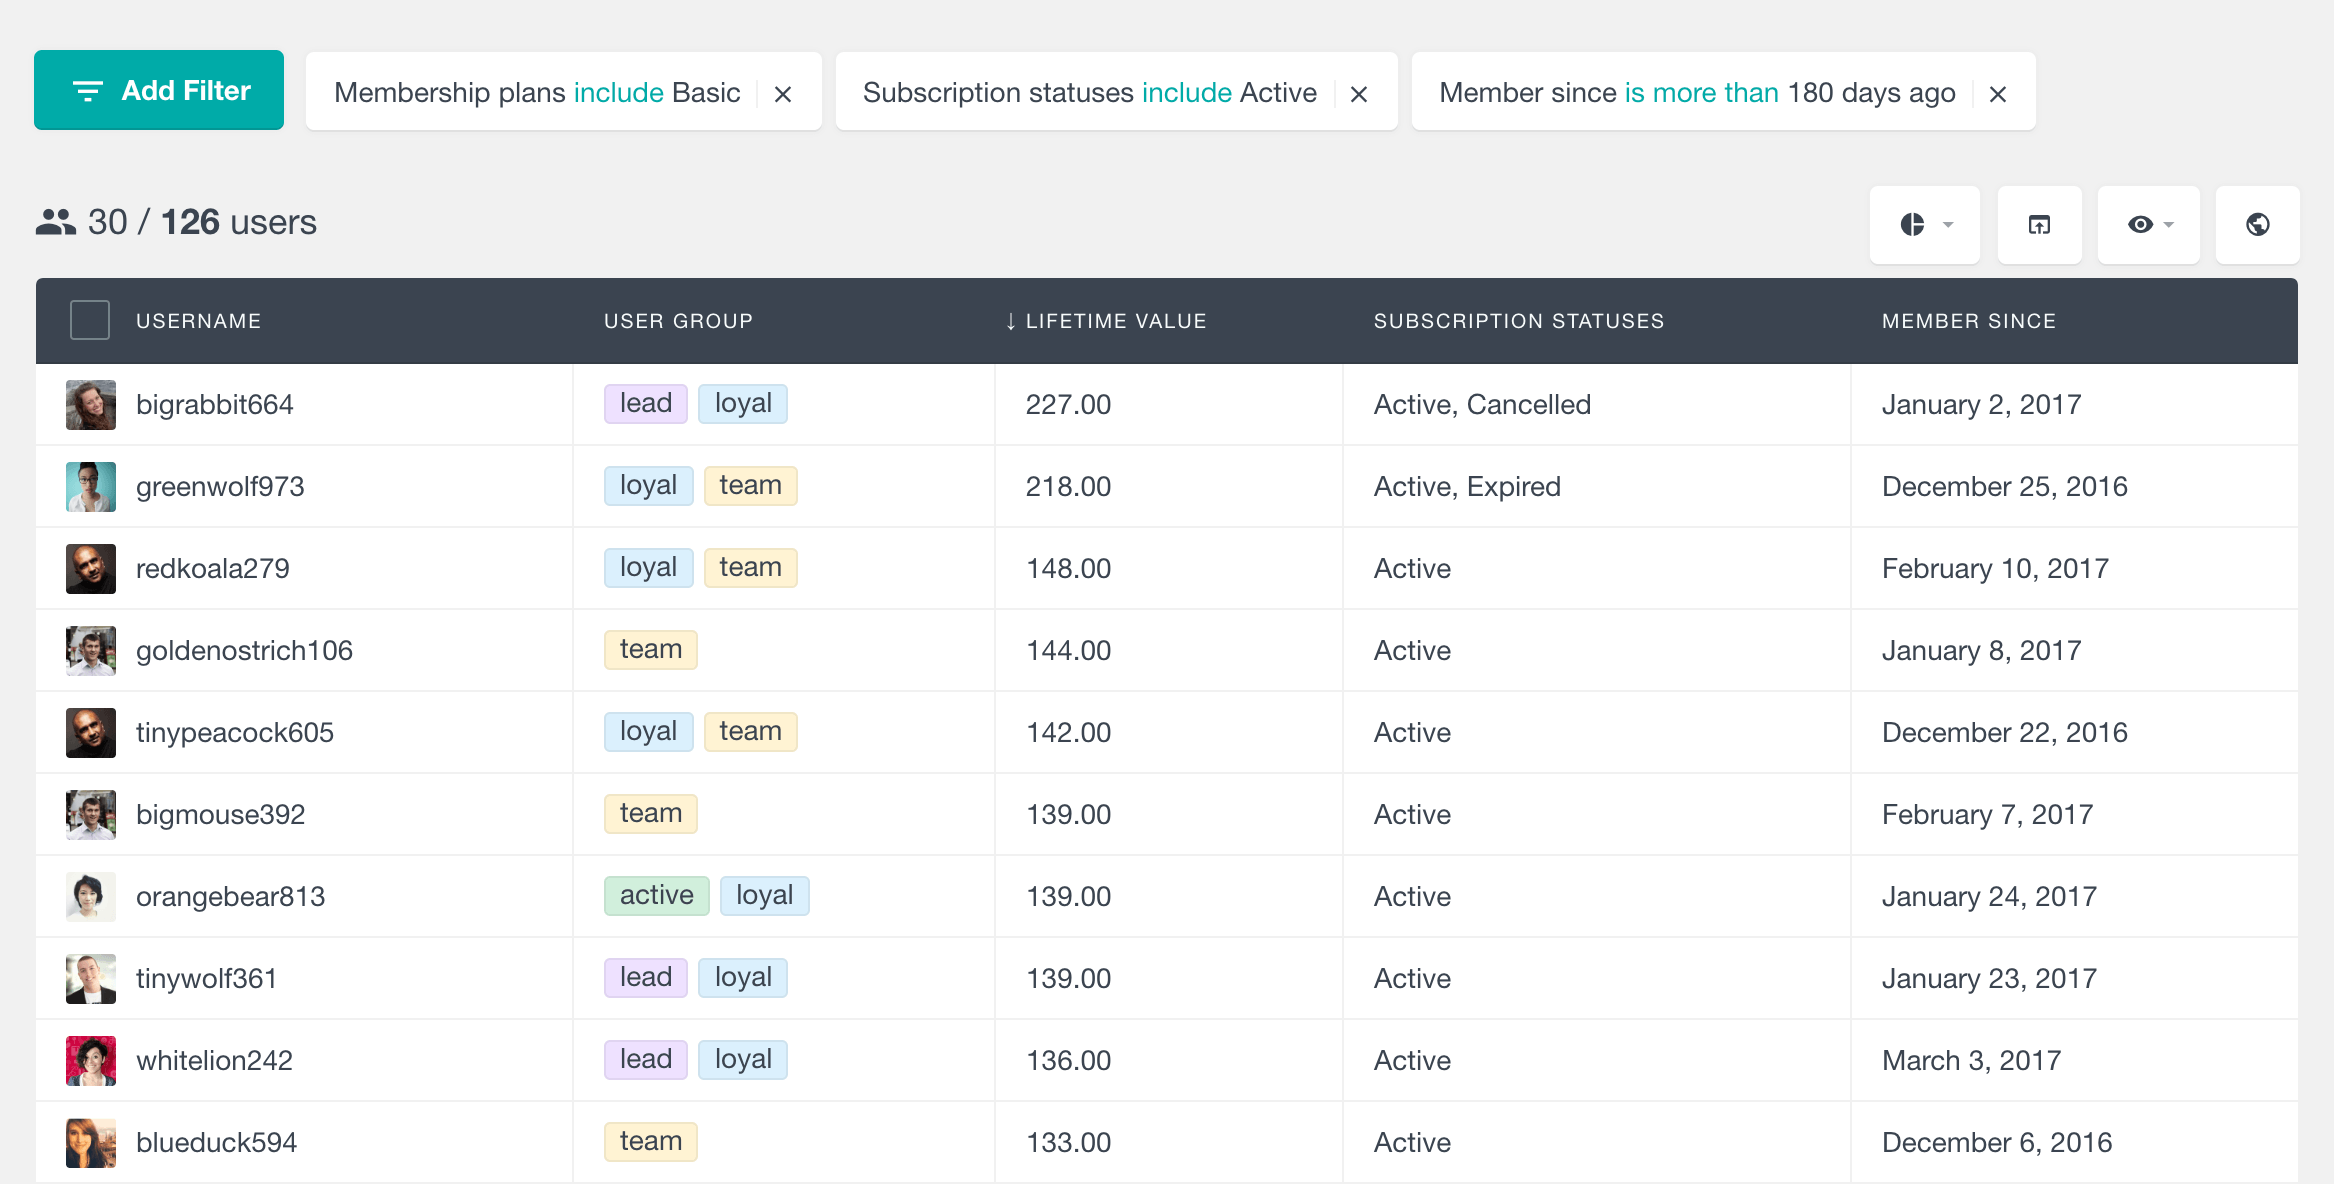
To filter data in such a way, you will first have to select all members with a basic membership plan. Then, you should select members with at least one of their subscription status set to active. You might also want to filter out those members who have recently joined your website. So, you should add another filter to select only those users who have been a member since a certain point in time.
After adding all these filters, your output should look similar to the following.

Now, if you want to export this data, you can head over here and learn how data export is carried out in Users Insights user tables.
To transfer data of all the gold members to a new website
Suppose that you want to create a social media portal for all the gold level members from your WooCommerce website. This, you have titled ‘The Elite Members Club’ and the users here will be provided with promotional coupons and products. They will also be able to virtually interact with each other.
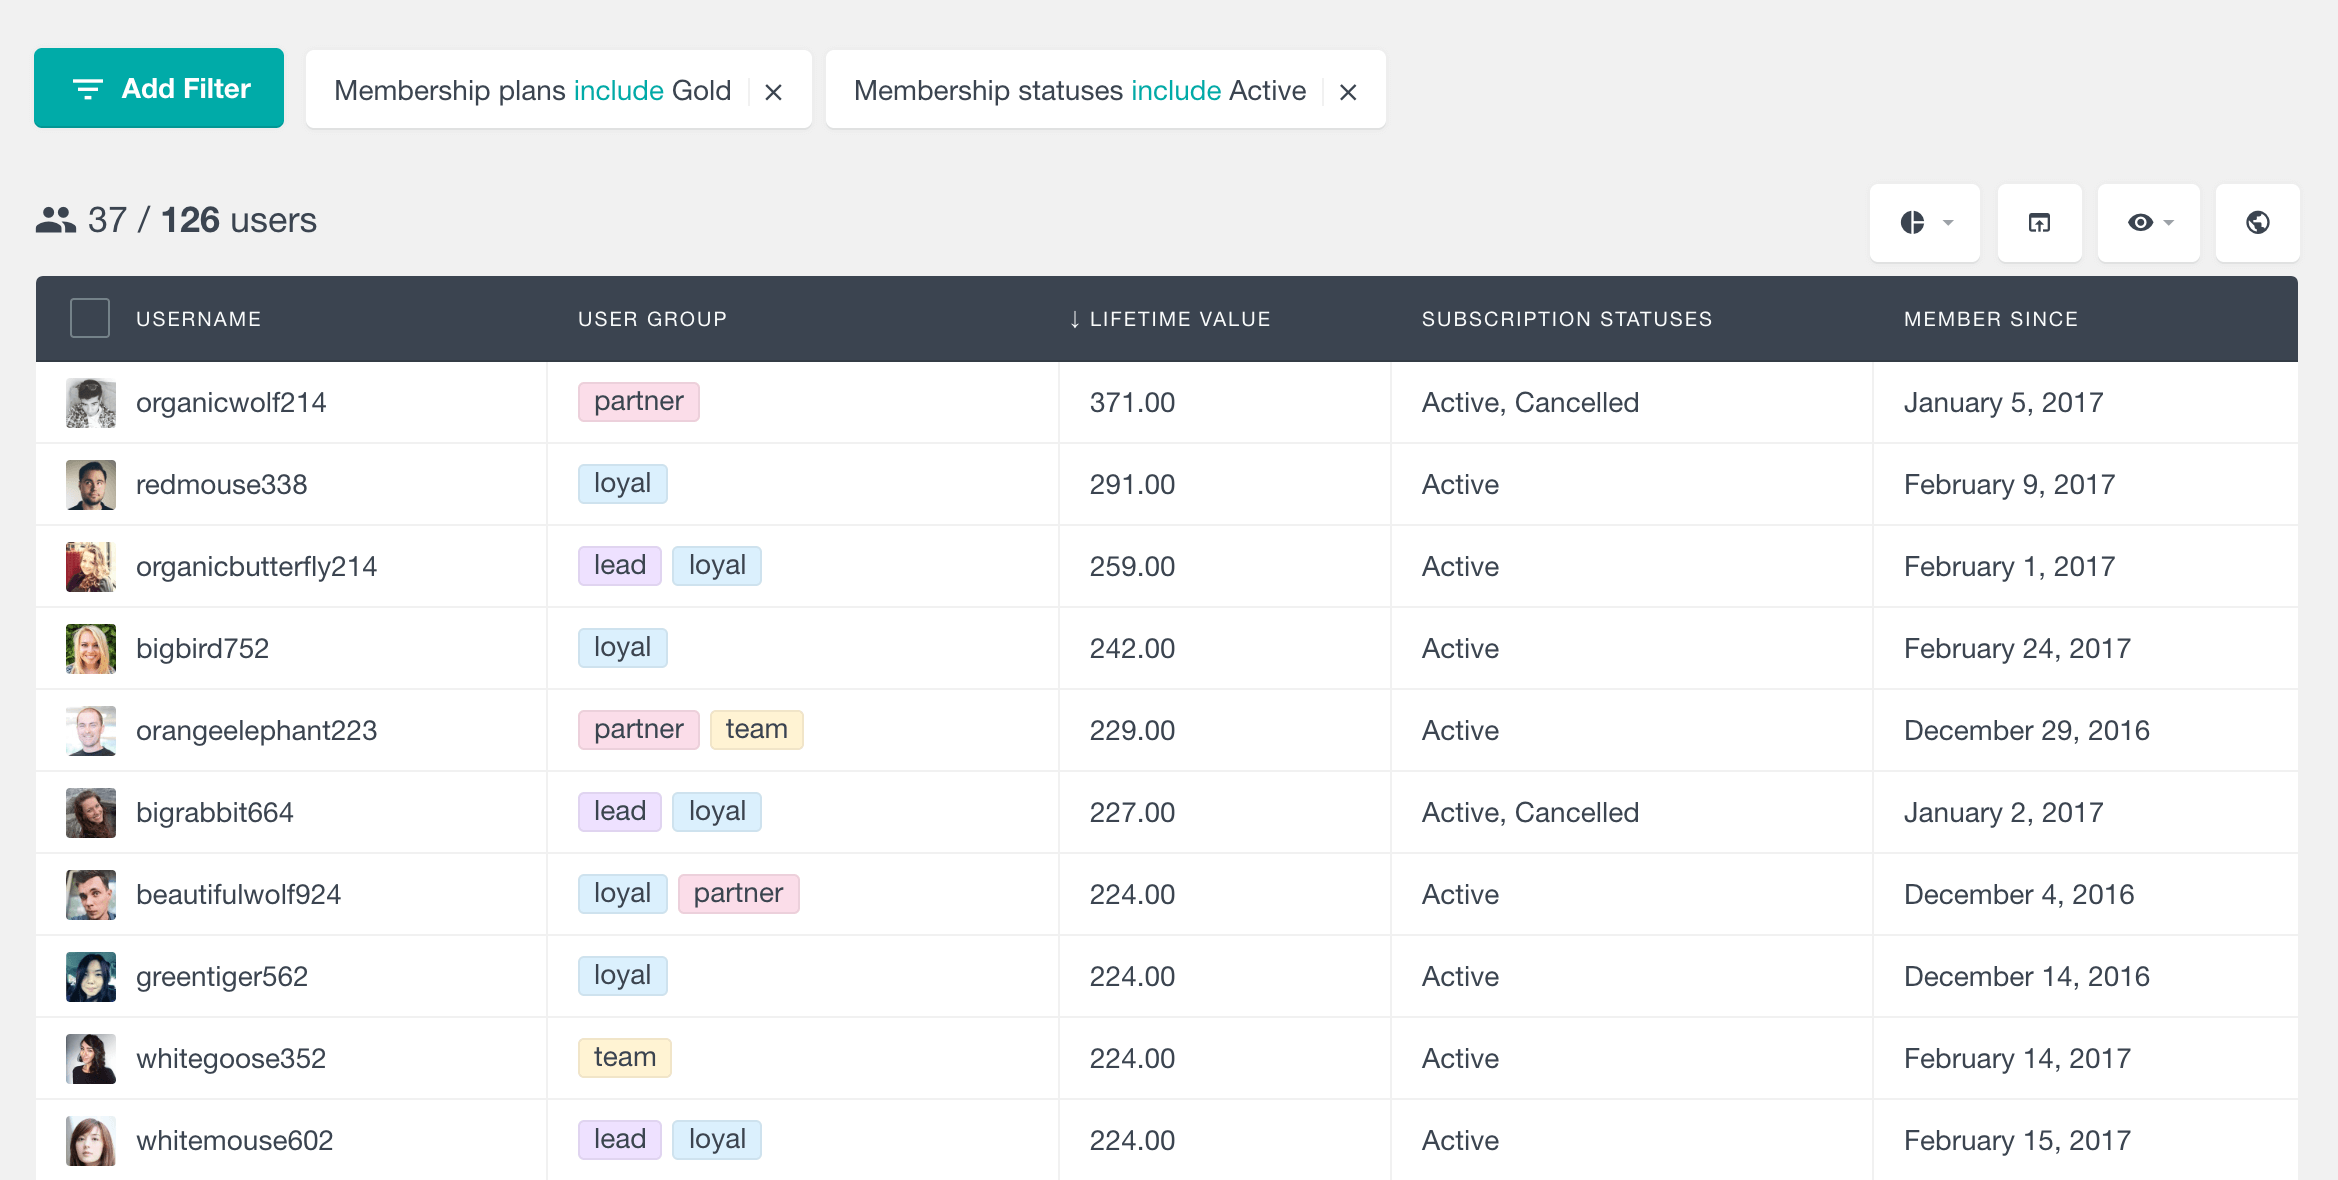
In such a case, it might be inefficient to ask all those members to sign up on your new website once again. What you can do instead is to filter out the data for all your members with a gold plan and automatically register them to the new website. You can do this by first filtering out all the members who have at least one ‘Gold’ membership plan and export that data to a CSV file.
In this case, you will have to use two different filters. The first one to get all the members with a ‘Gold’ membership plan and the next one to check whether the member is active or not. Once done, your table will have data similar to the one shown below.

Once downloaded as a CSV file, the data can then be used to update the database of your social media website.
Conclusion
Today, we briefly recalled what the WooCommerce Membership module of Users Insights is and learned about the ‘Membership plans’ filter. We also explored in detail how you can filter out the data of your members according to their plans.
Finally, we looked at some examples of how these features can be used in conjunction with other fields from users table to solve problems that you might face while handling your own website.
We hope you enjoyed this article.
